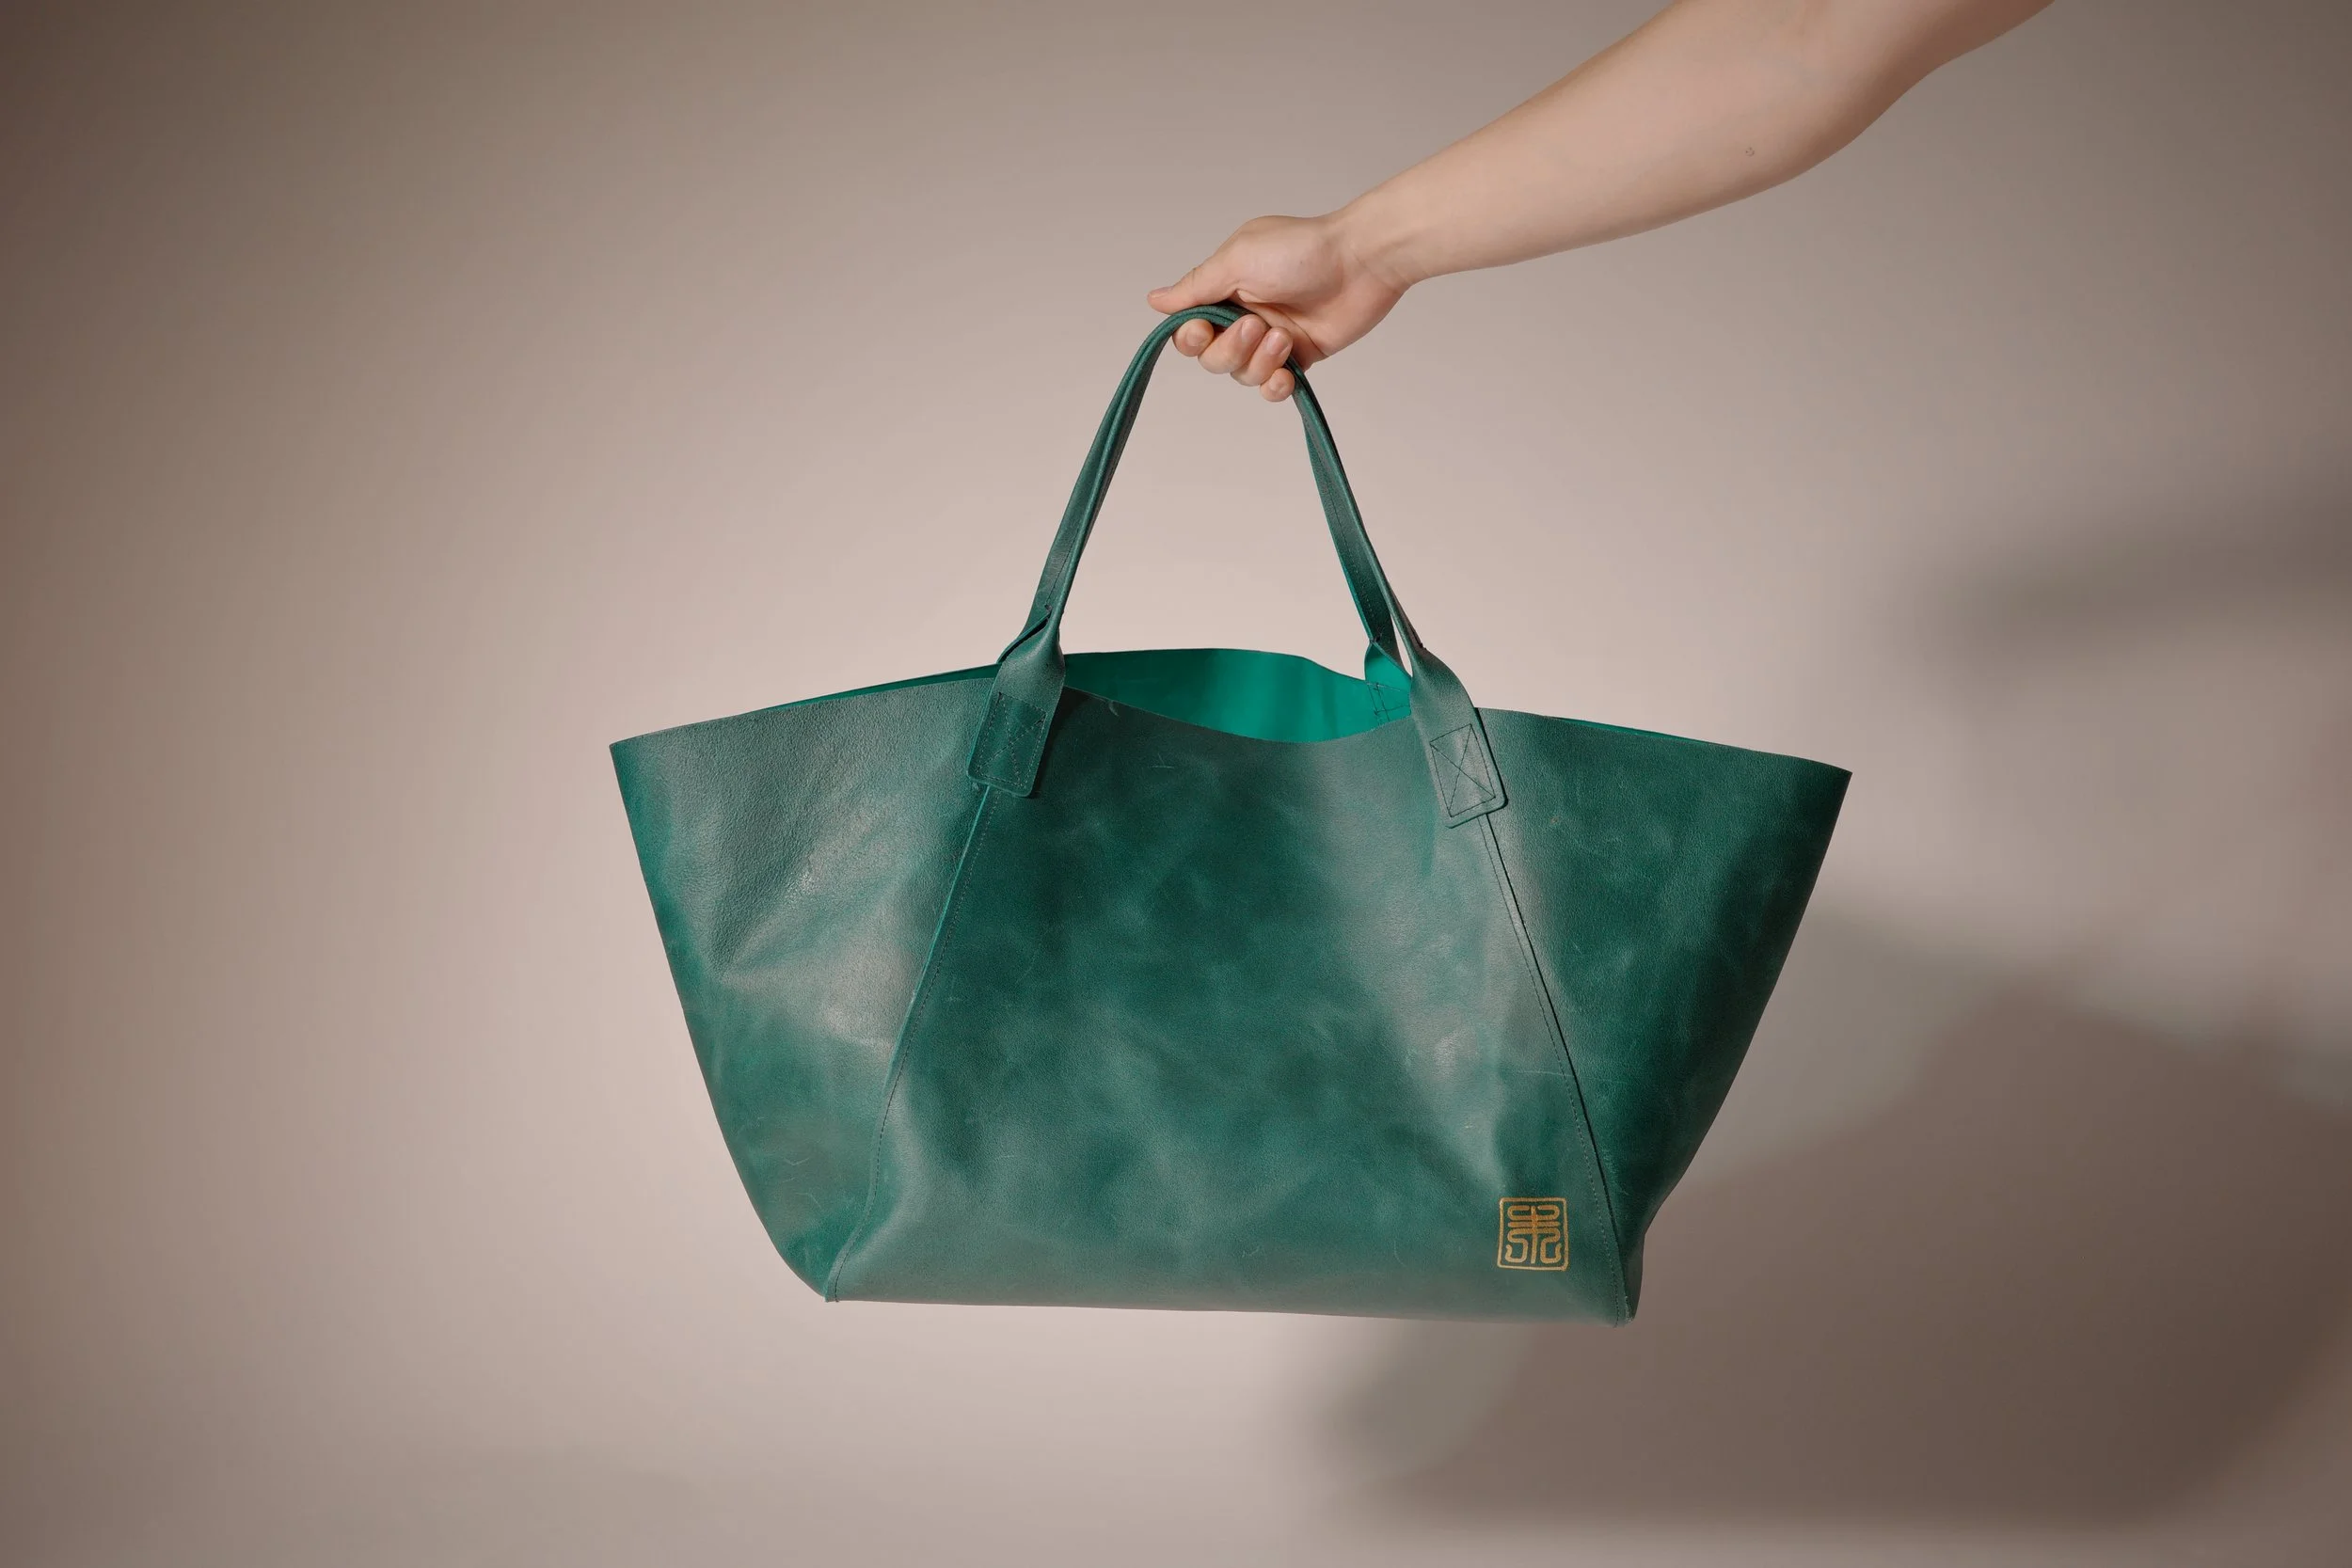
Rain Forest Tote
Waxed Flesh Latigo Leather, Machine Stitched, Hand Assembled in Chicago

Total Time: 3 Days
Day One: Ideation and Template Making
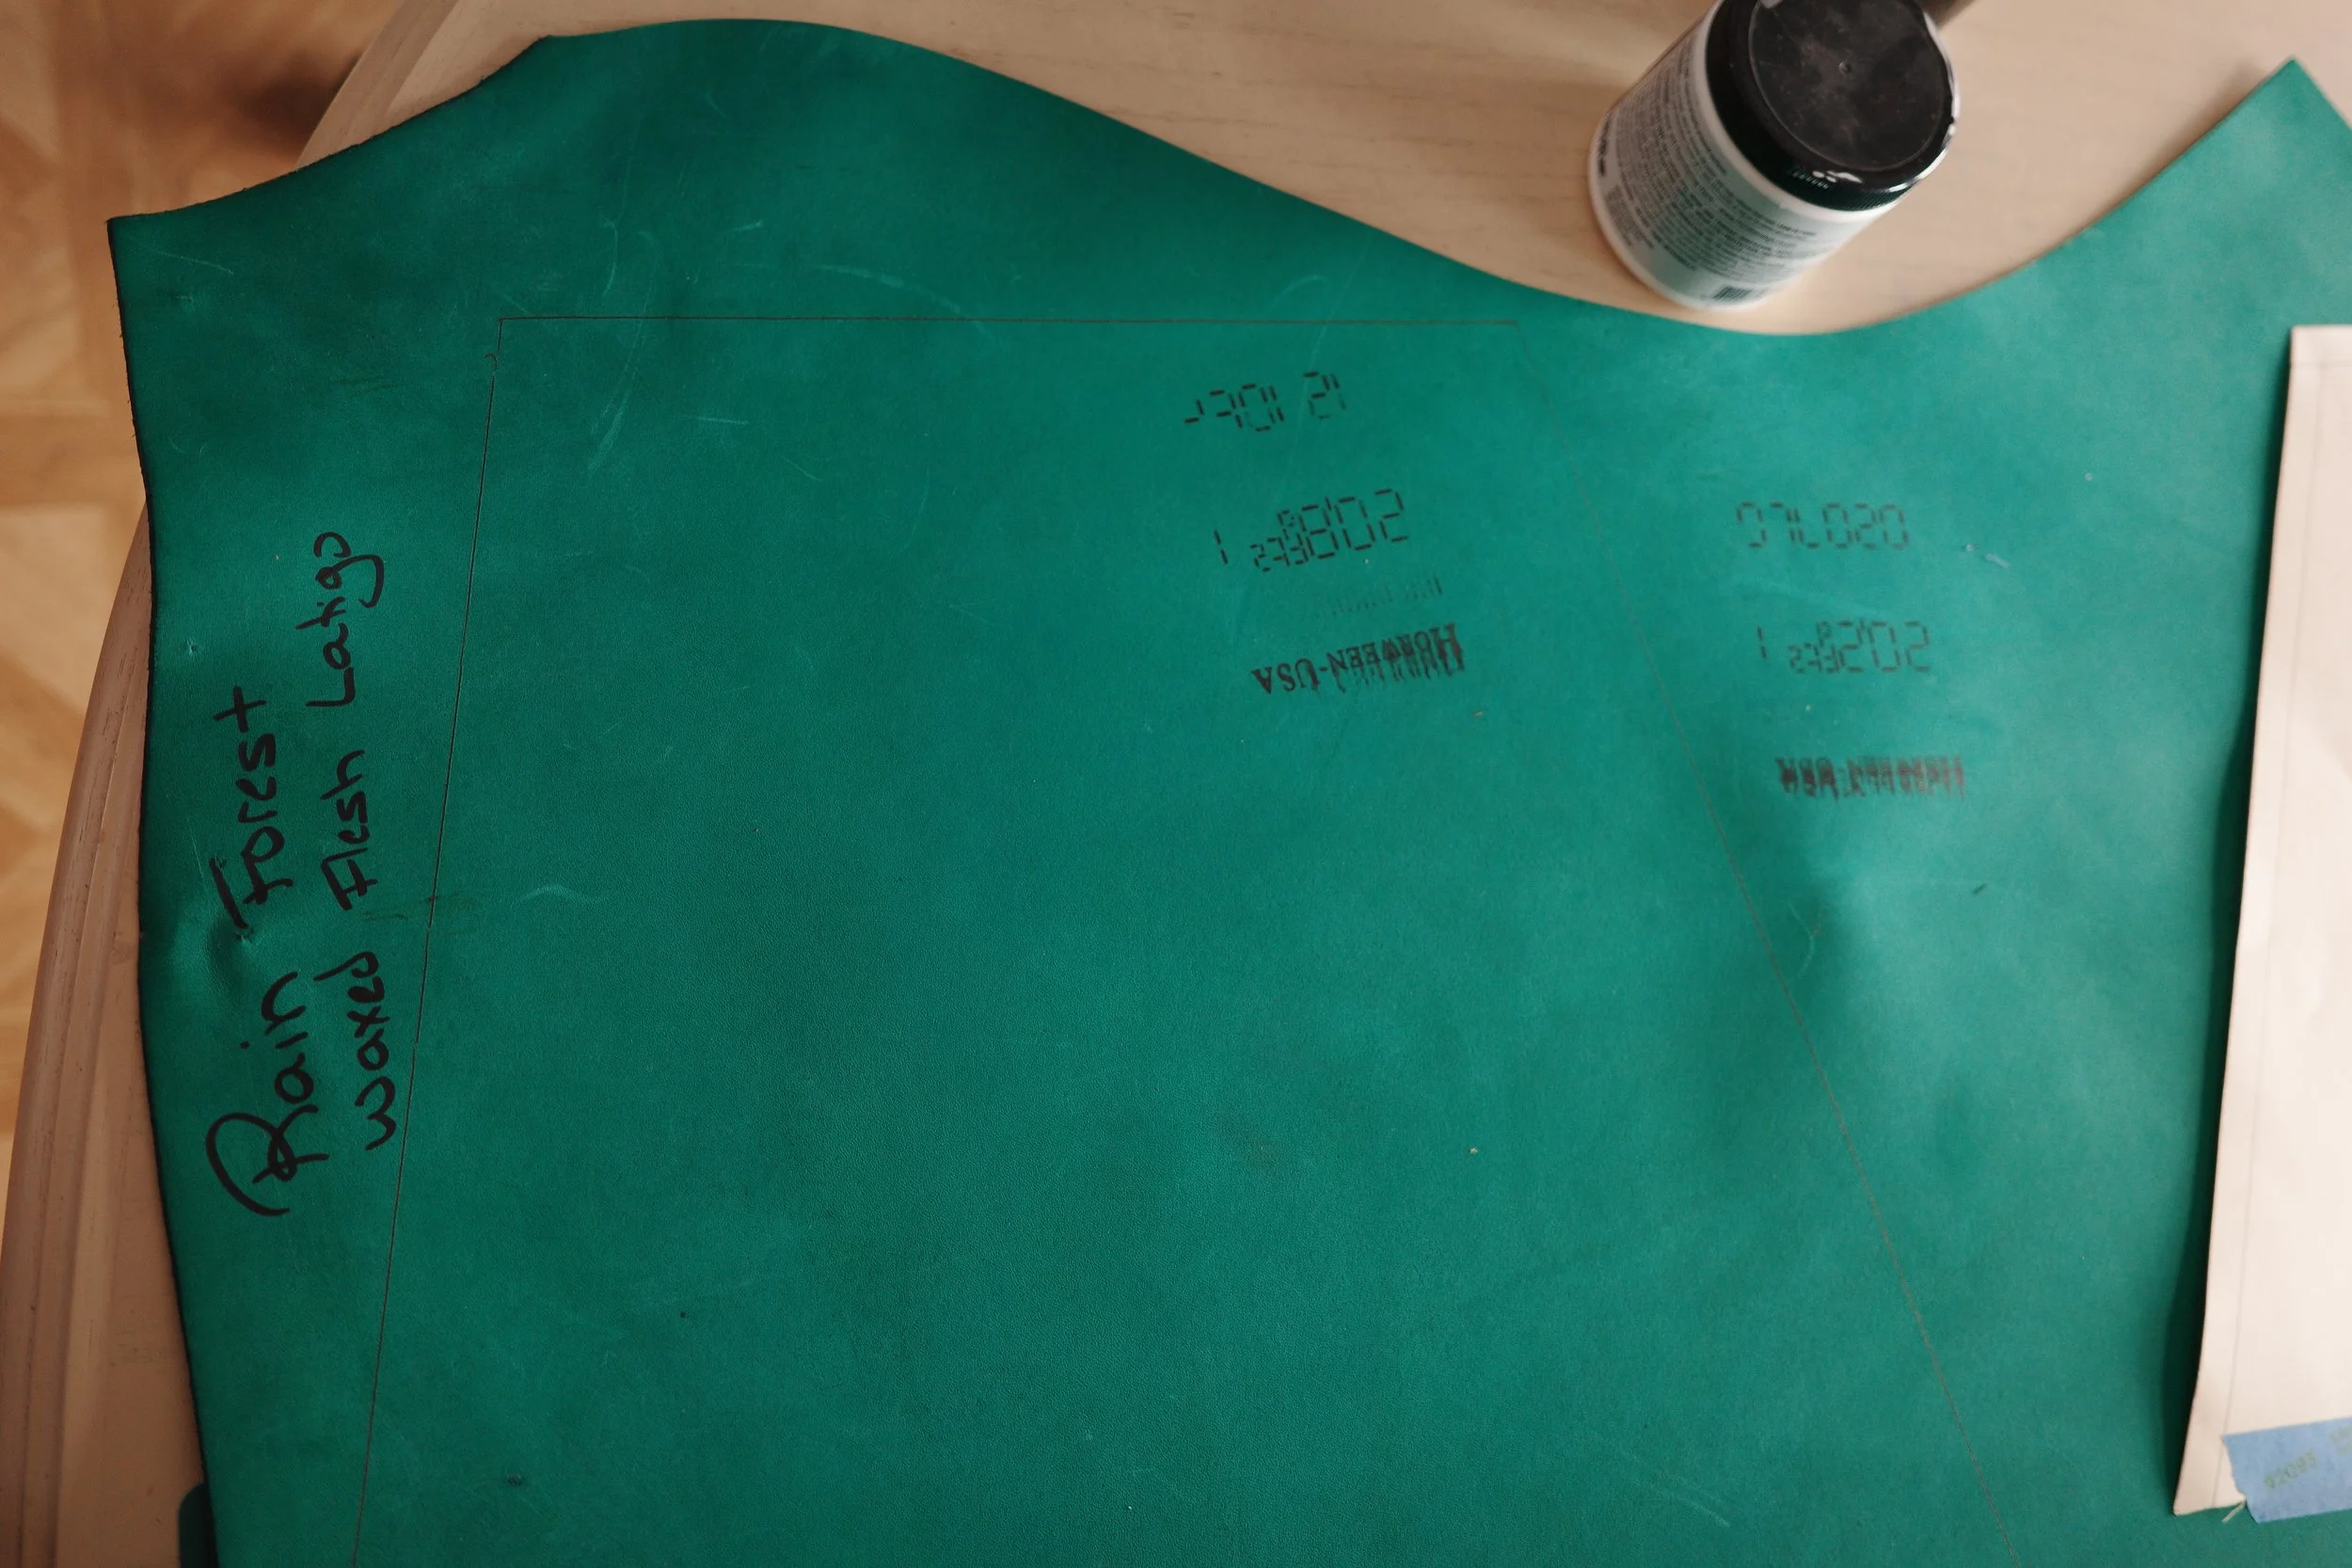
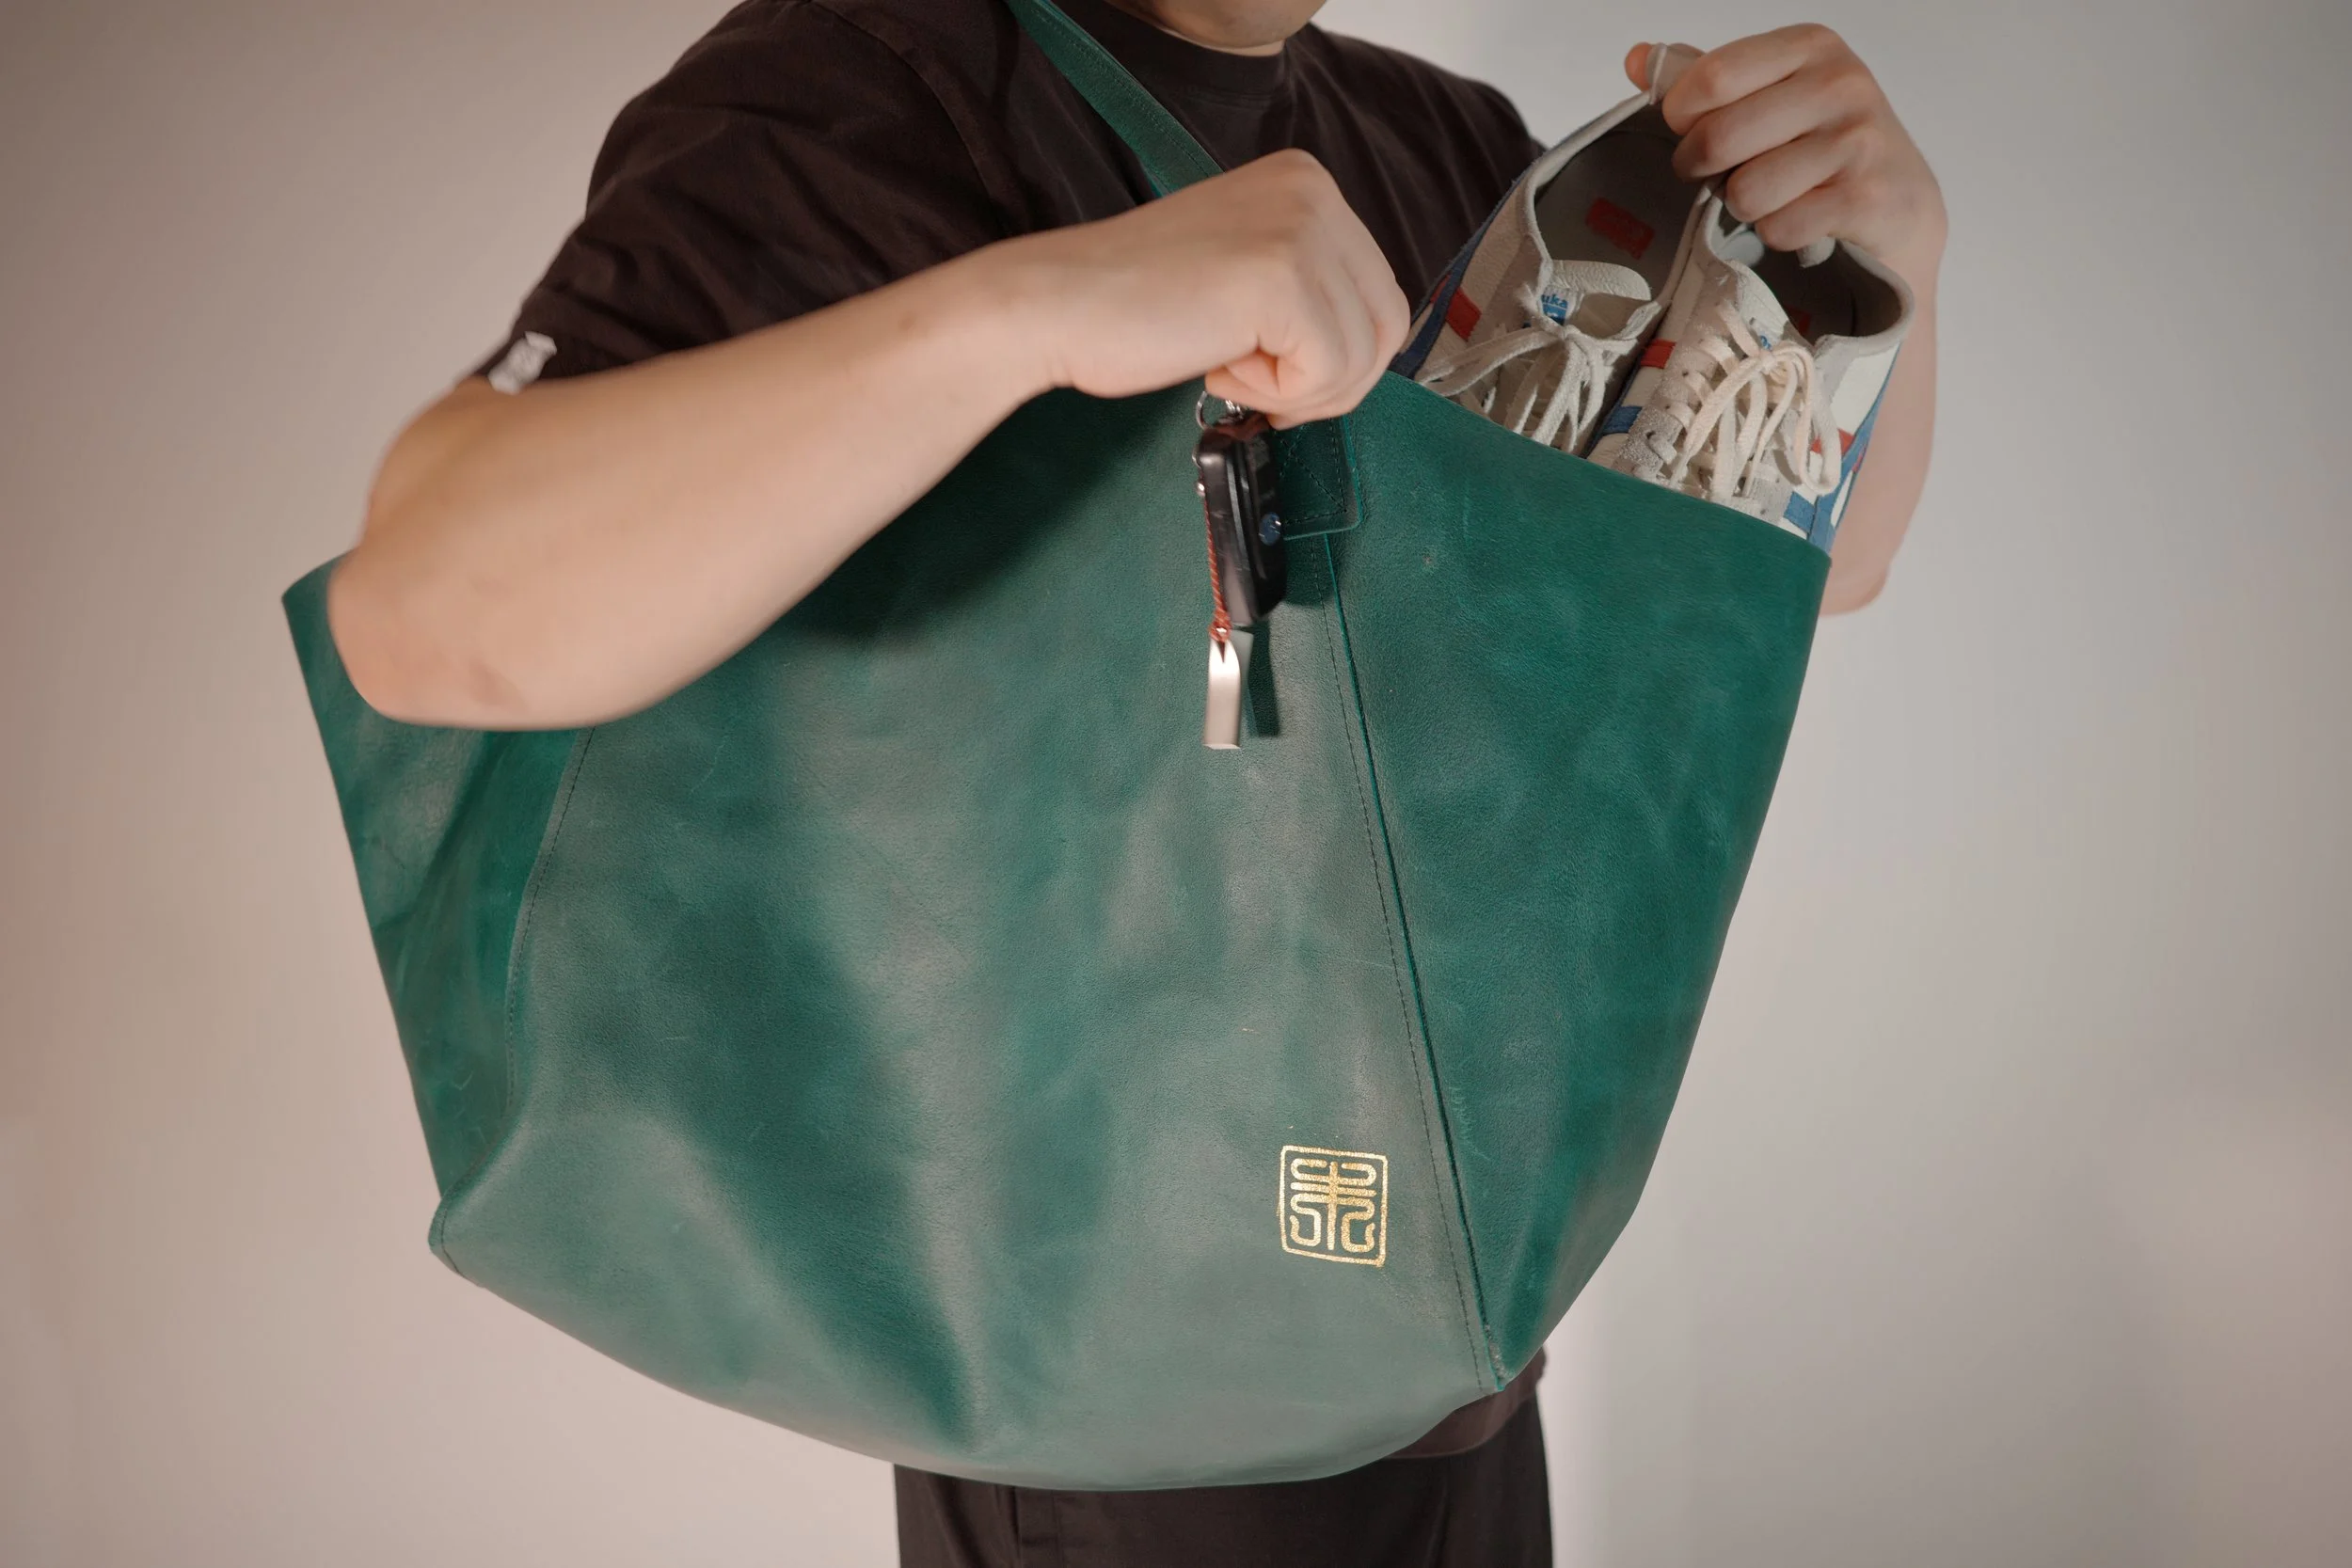
There were two elements that were consistently present during my upbringing in Chicago as a Chinese American: turbulent weather and food. The unpredictable Chicago winds have given me a strong appreciation for leather as a material as it is both breathable and durable. After browsing an impressive inventory of leathers, I landed on a “Rain Forest“ colored waxed fresh latigo leather from the Chicago brand Horween Leather Co. For five generations, Horween has processed each hide from their raw, cured state to finished leathers. I chose a latigo leather because its commonly used for boots and I knew I wanted my bag to be more pliable as to better conform to its contents. Additionally, Latigo is less glossy and is more resistant to scuffs and stretching than Chromexcel (CXL).
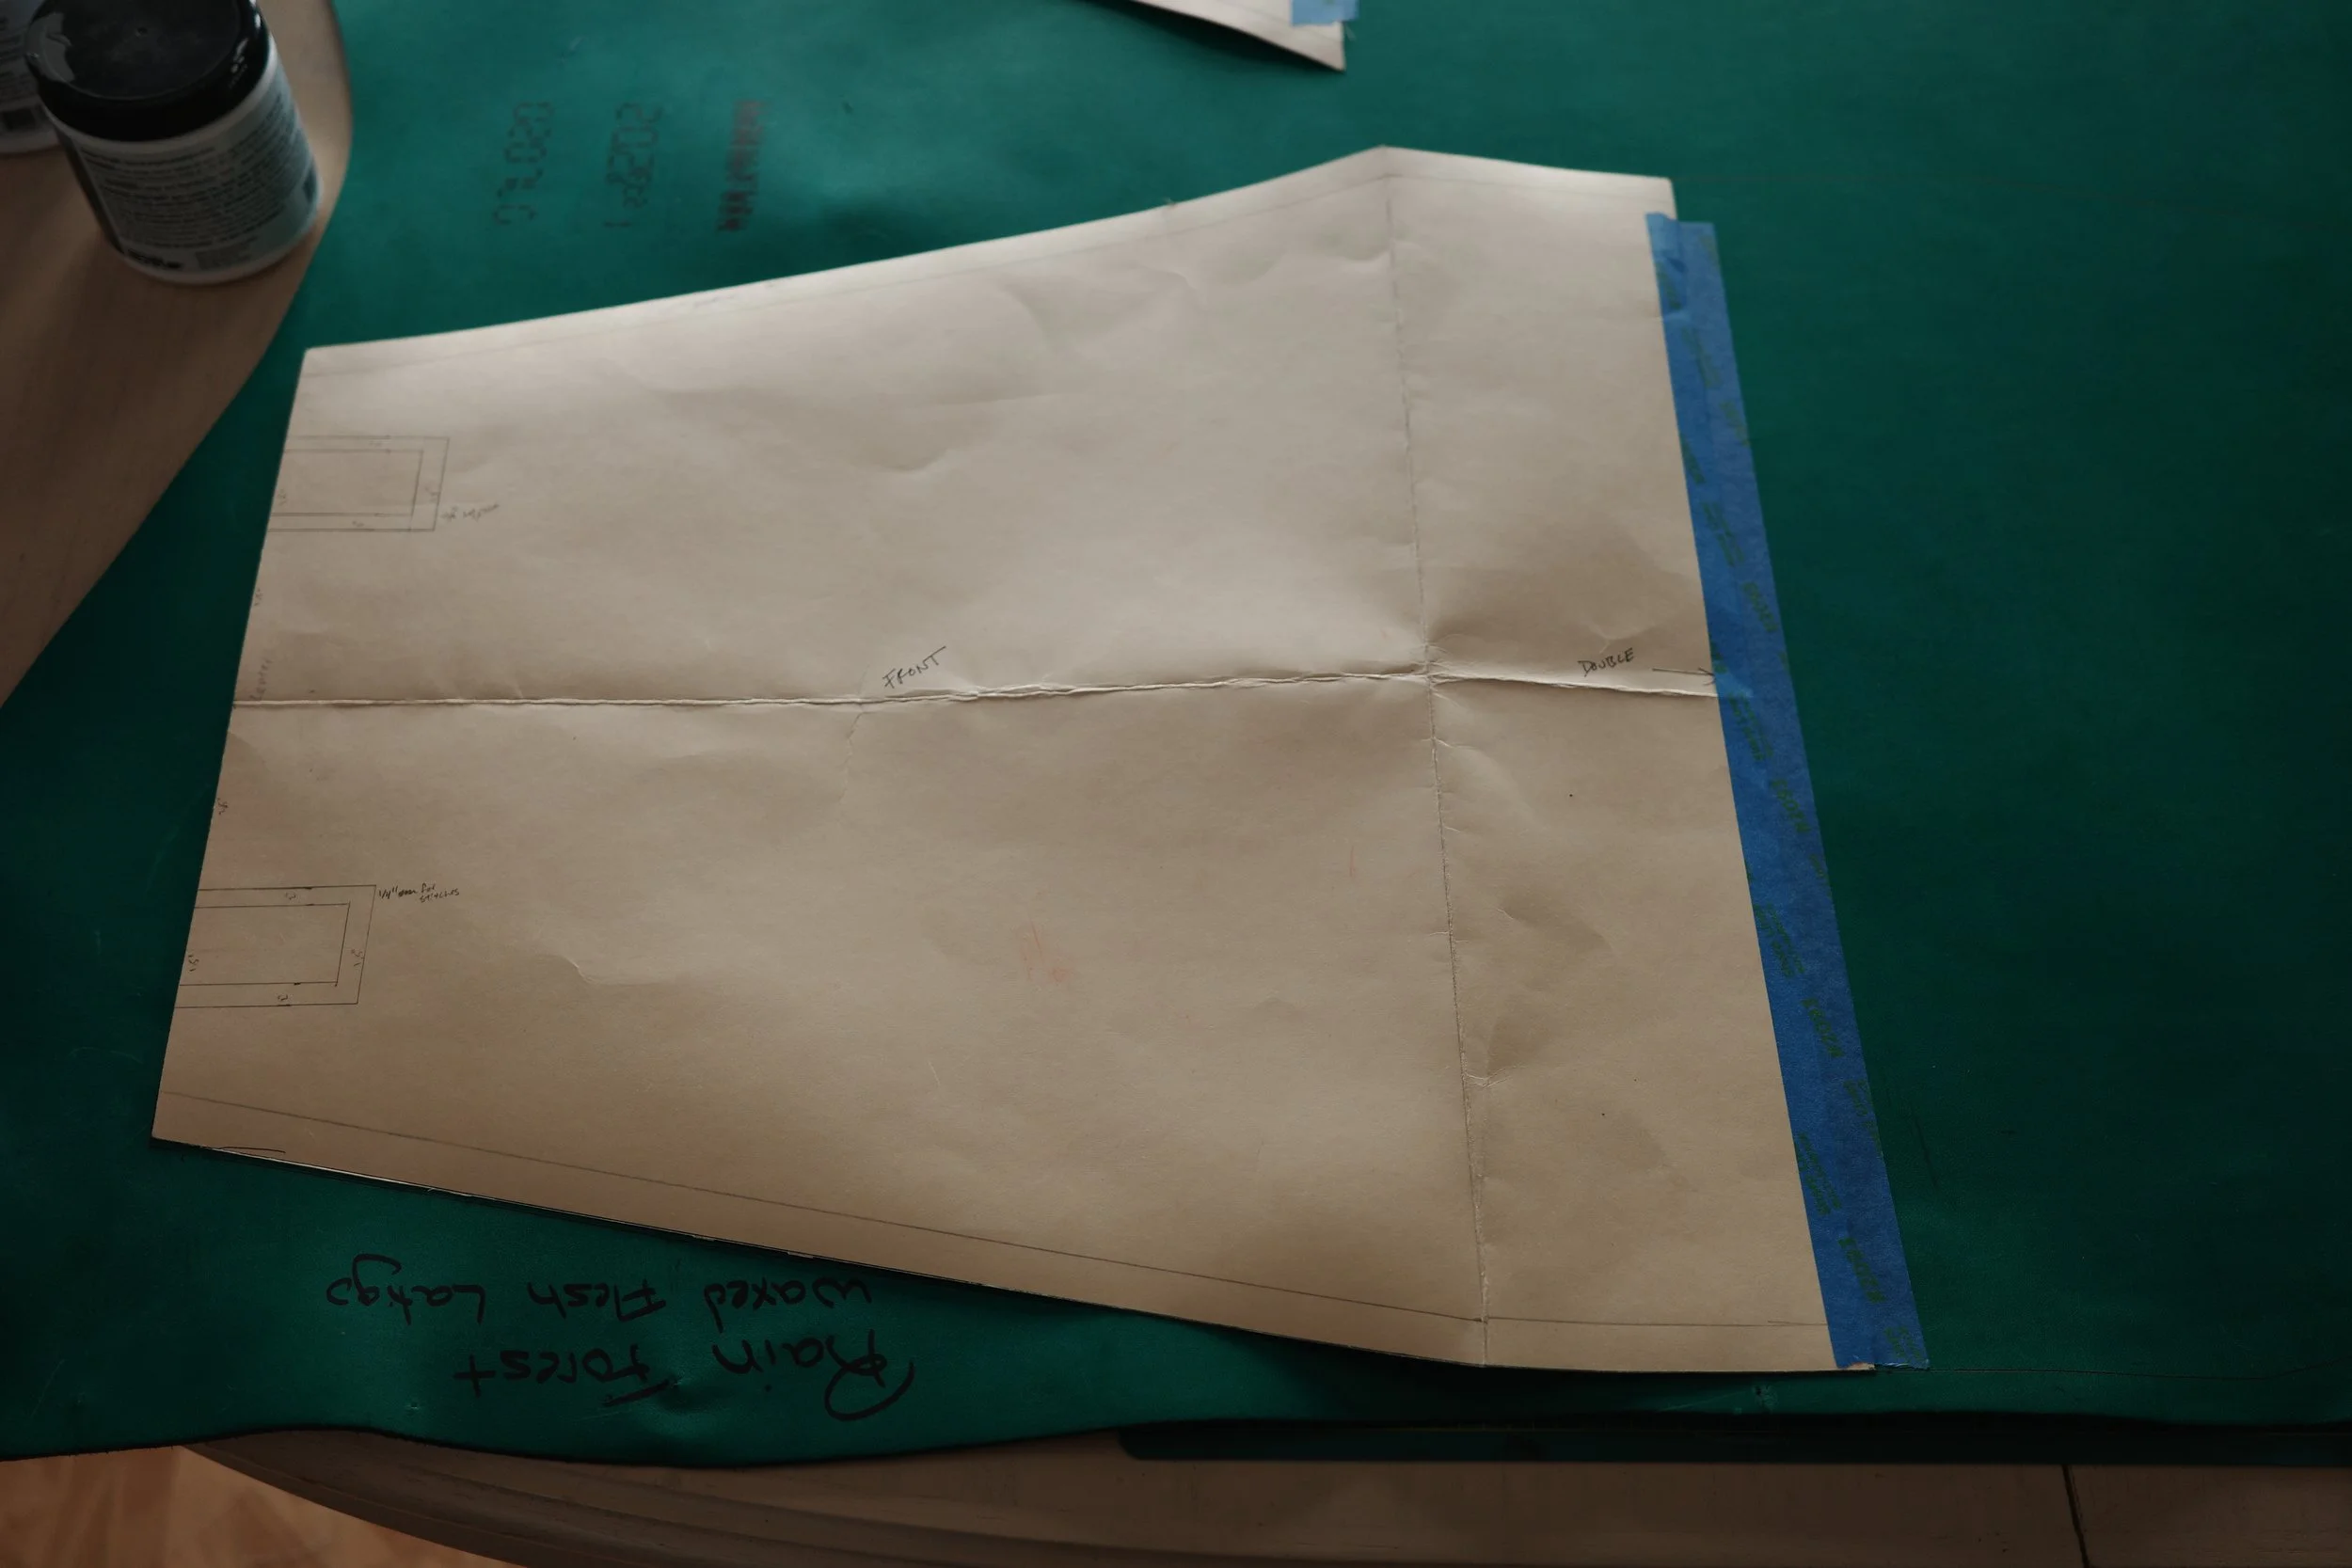
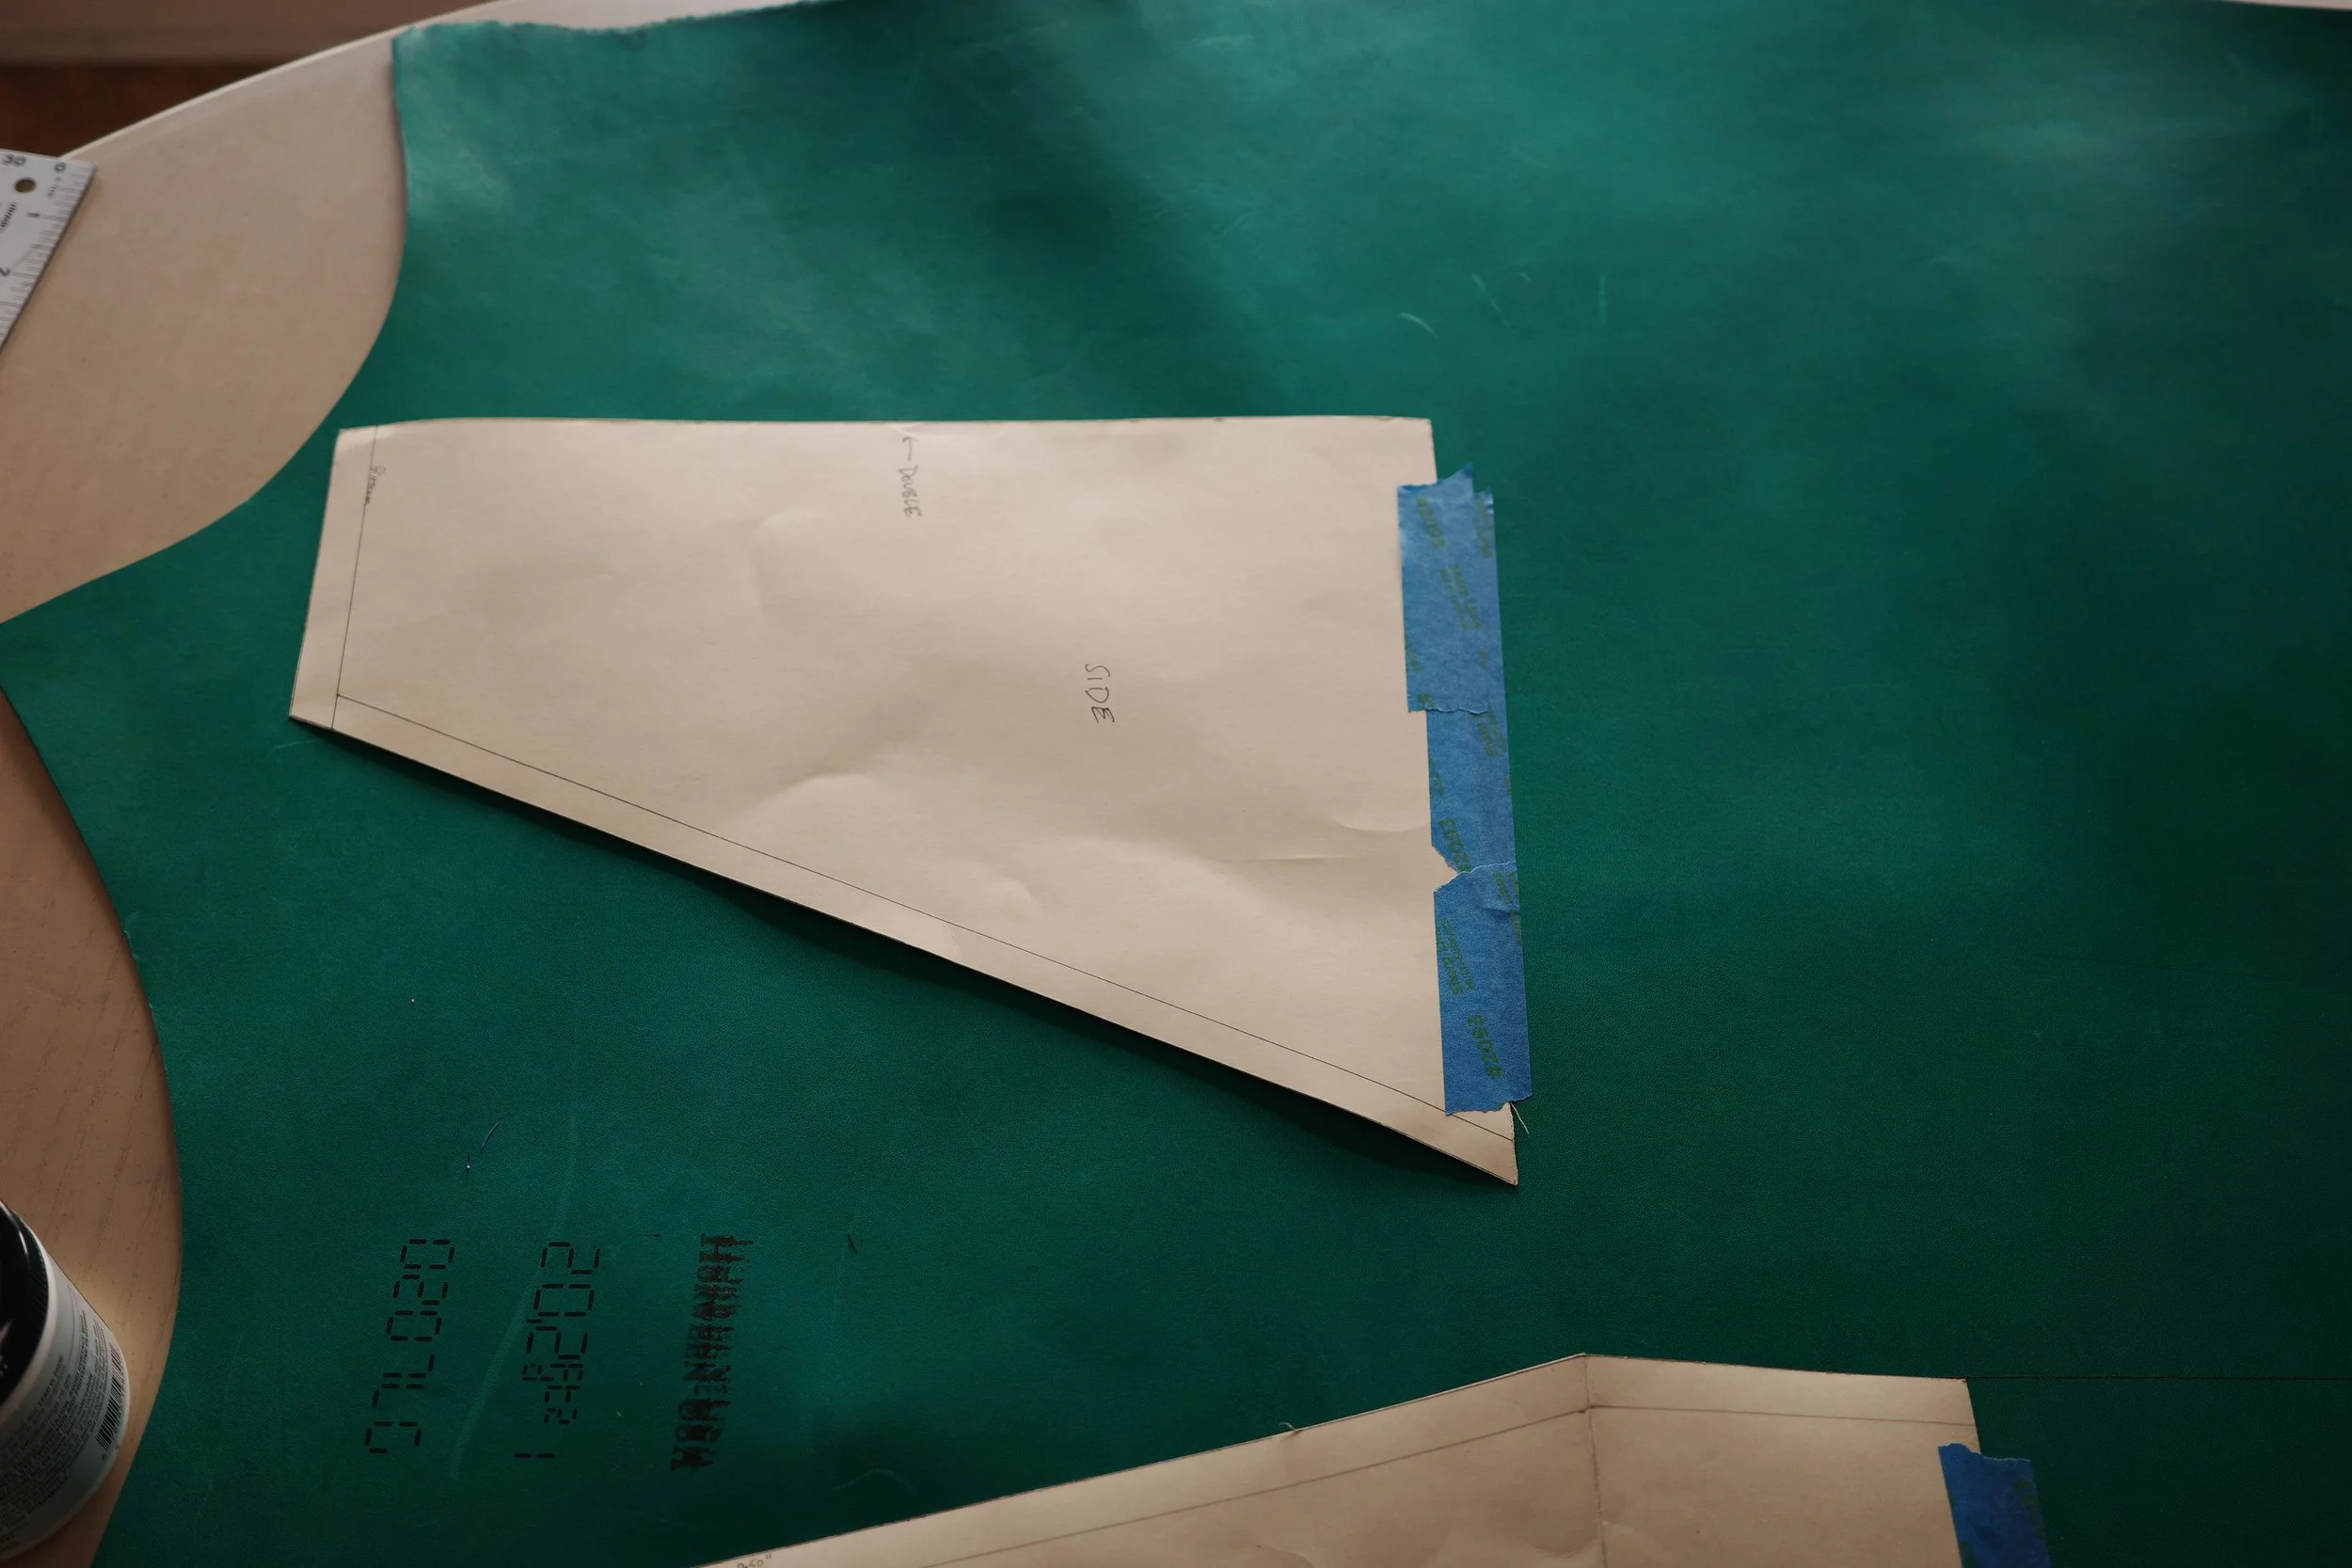
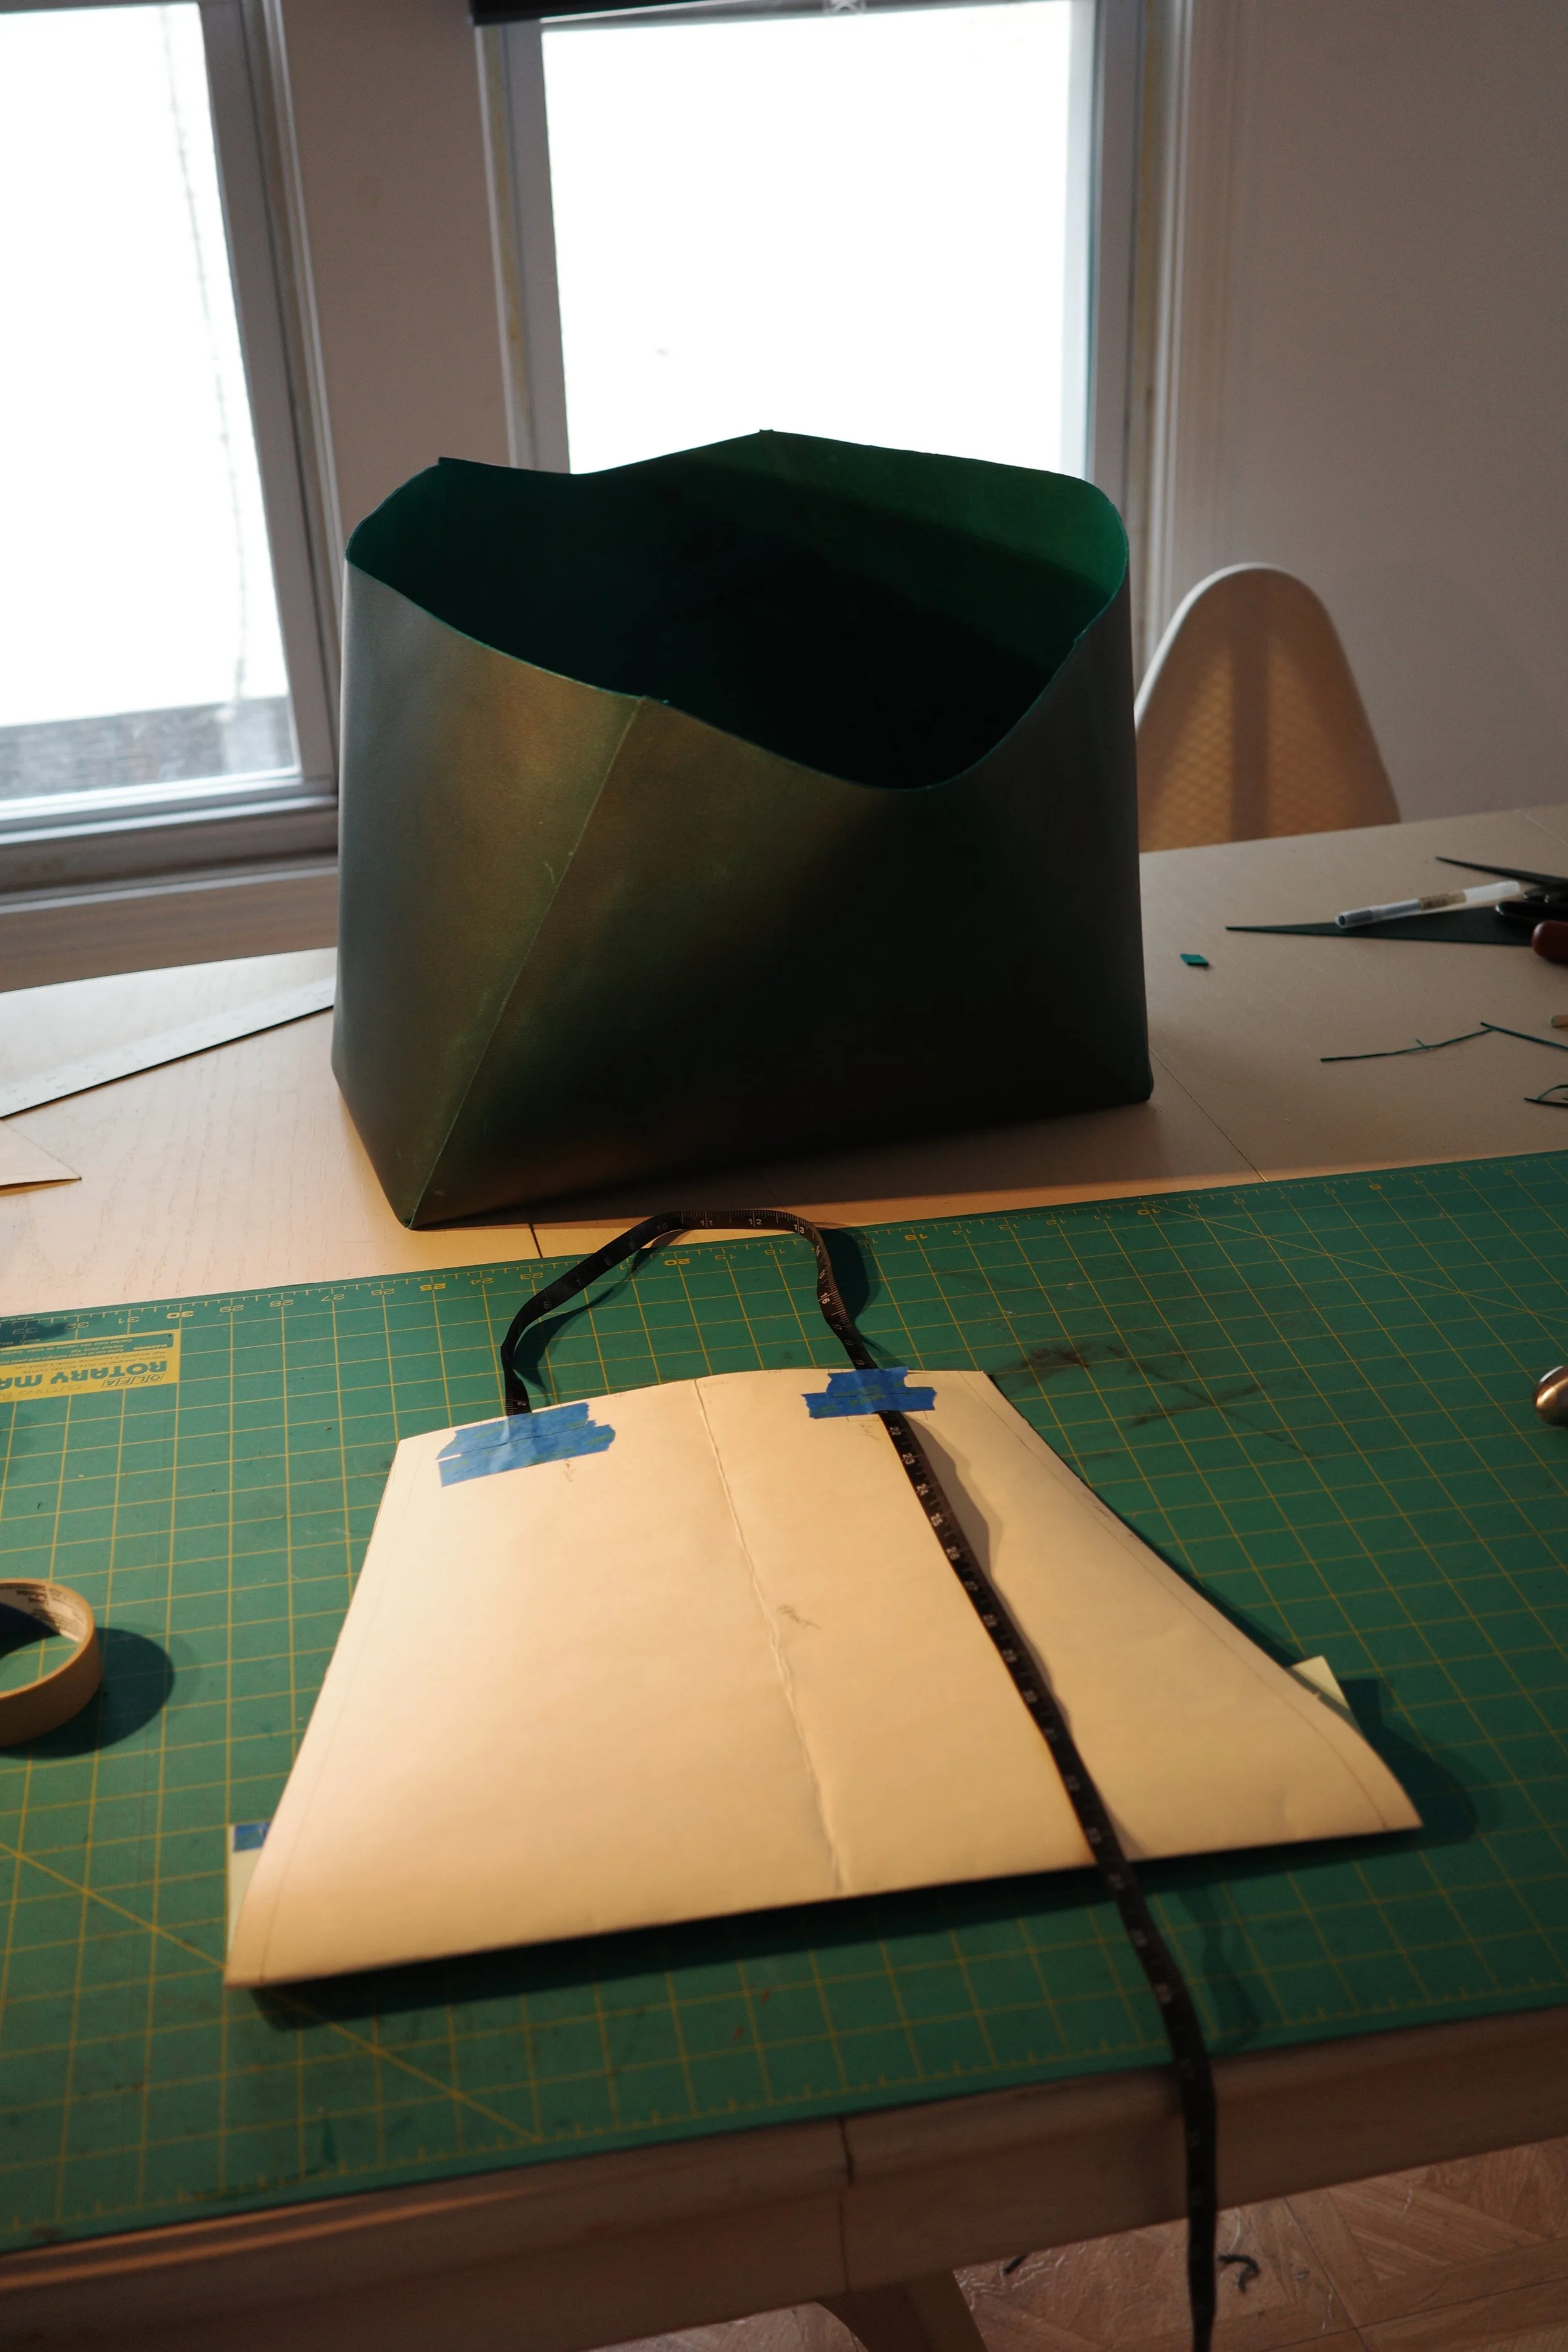
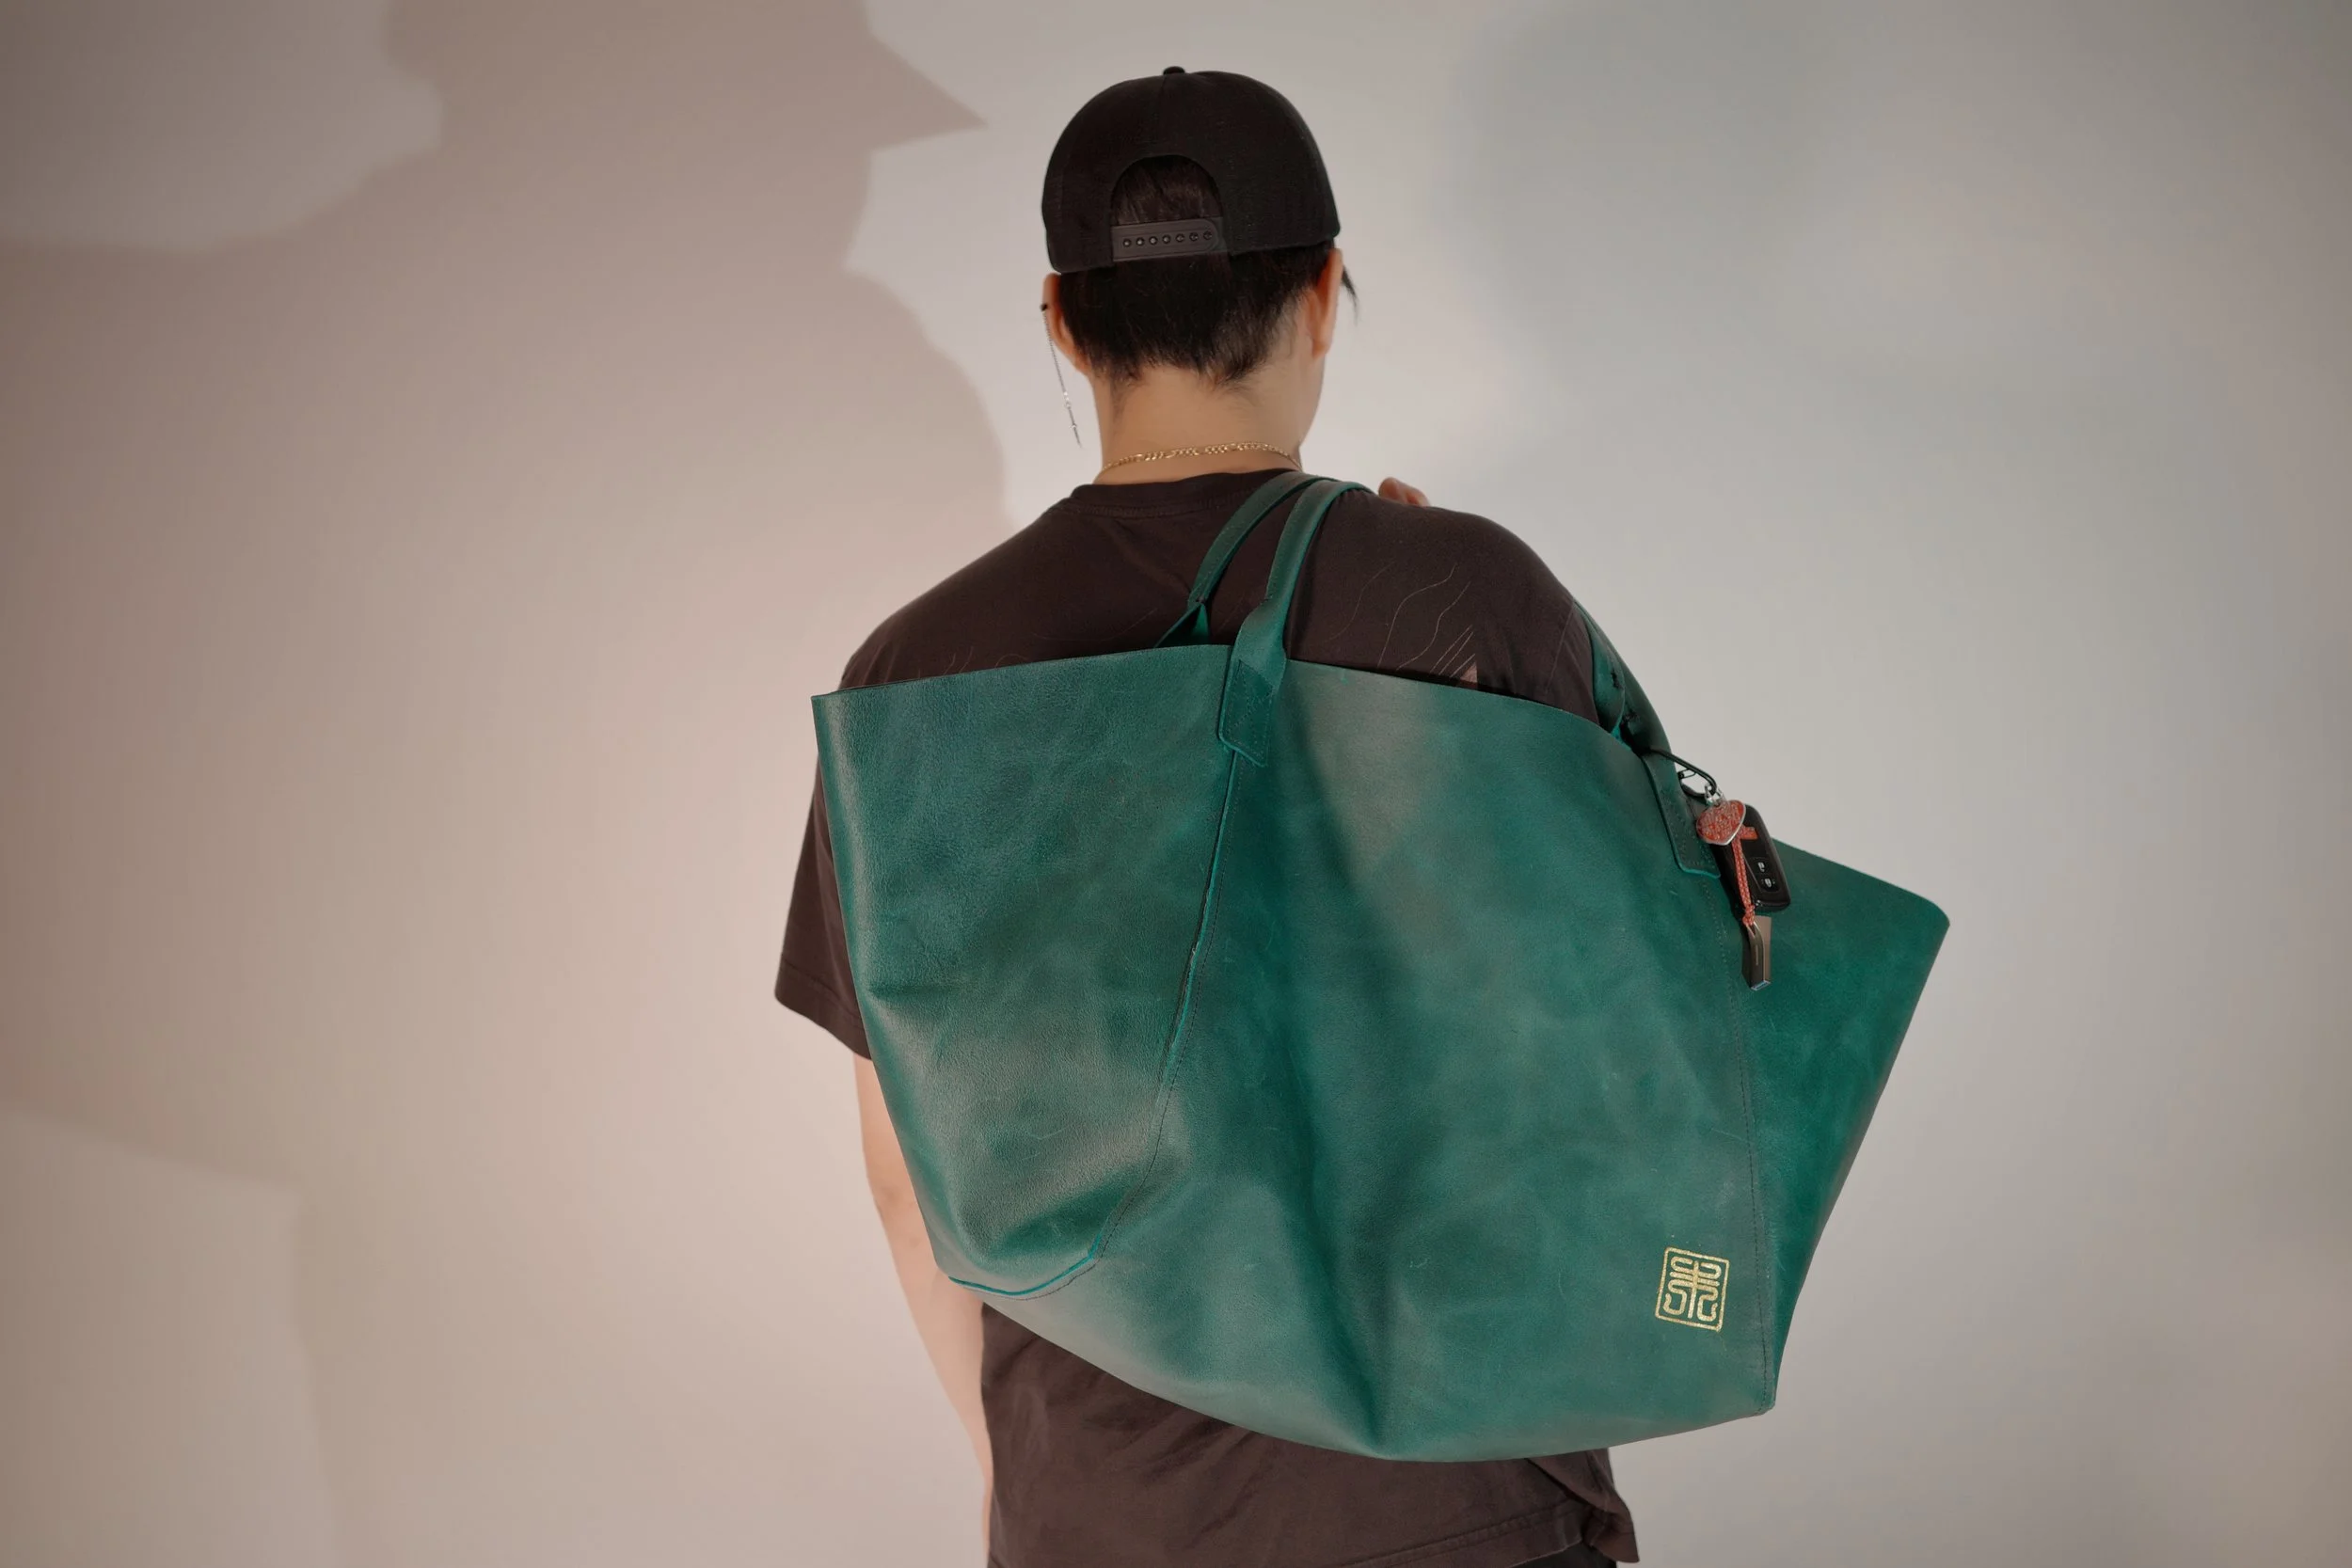
For the template, I envisioned a large dumpling-esque silhouette. I included a 1/4 inch seam allowance in the template to accommodate stitching. This leaves ample space for my novice sewing skills but also acts as an insurance should the bag need a second stitch for reinforcement.
Day Two: Cut, Sand, Burnish, and Glue
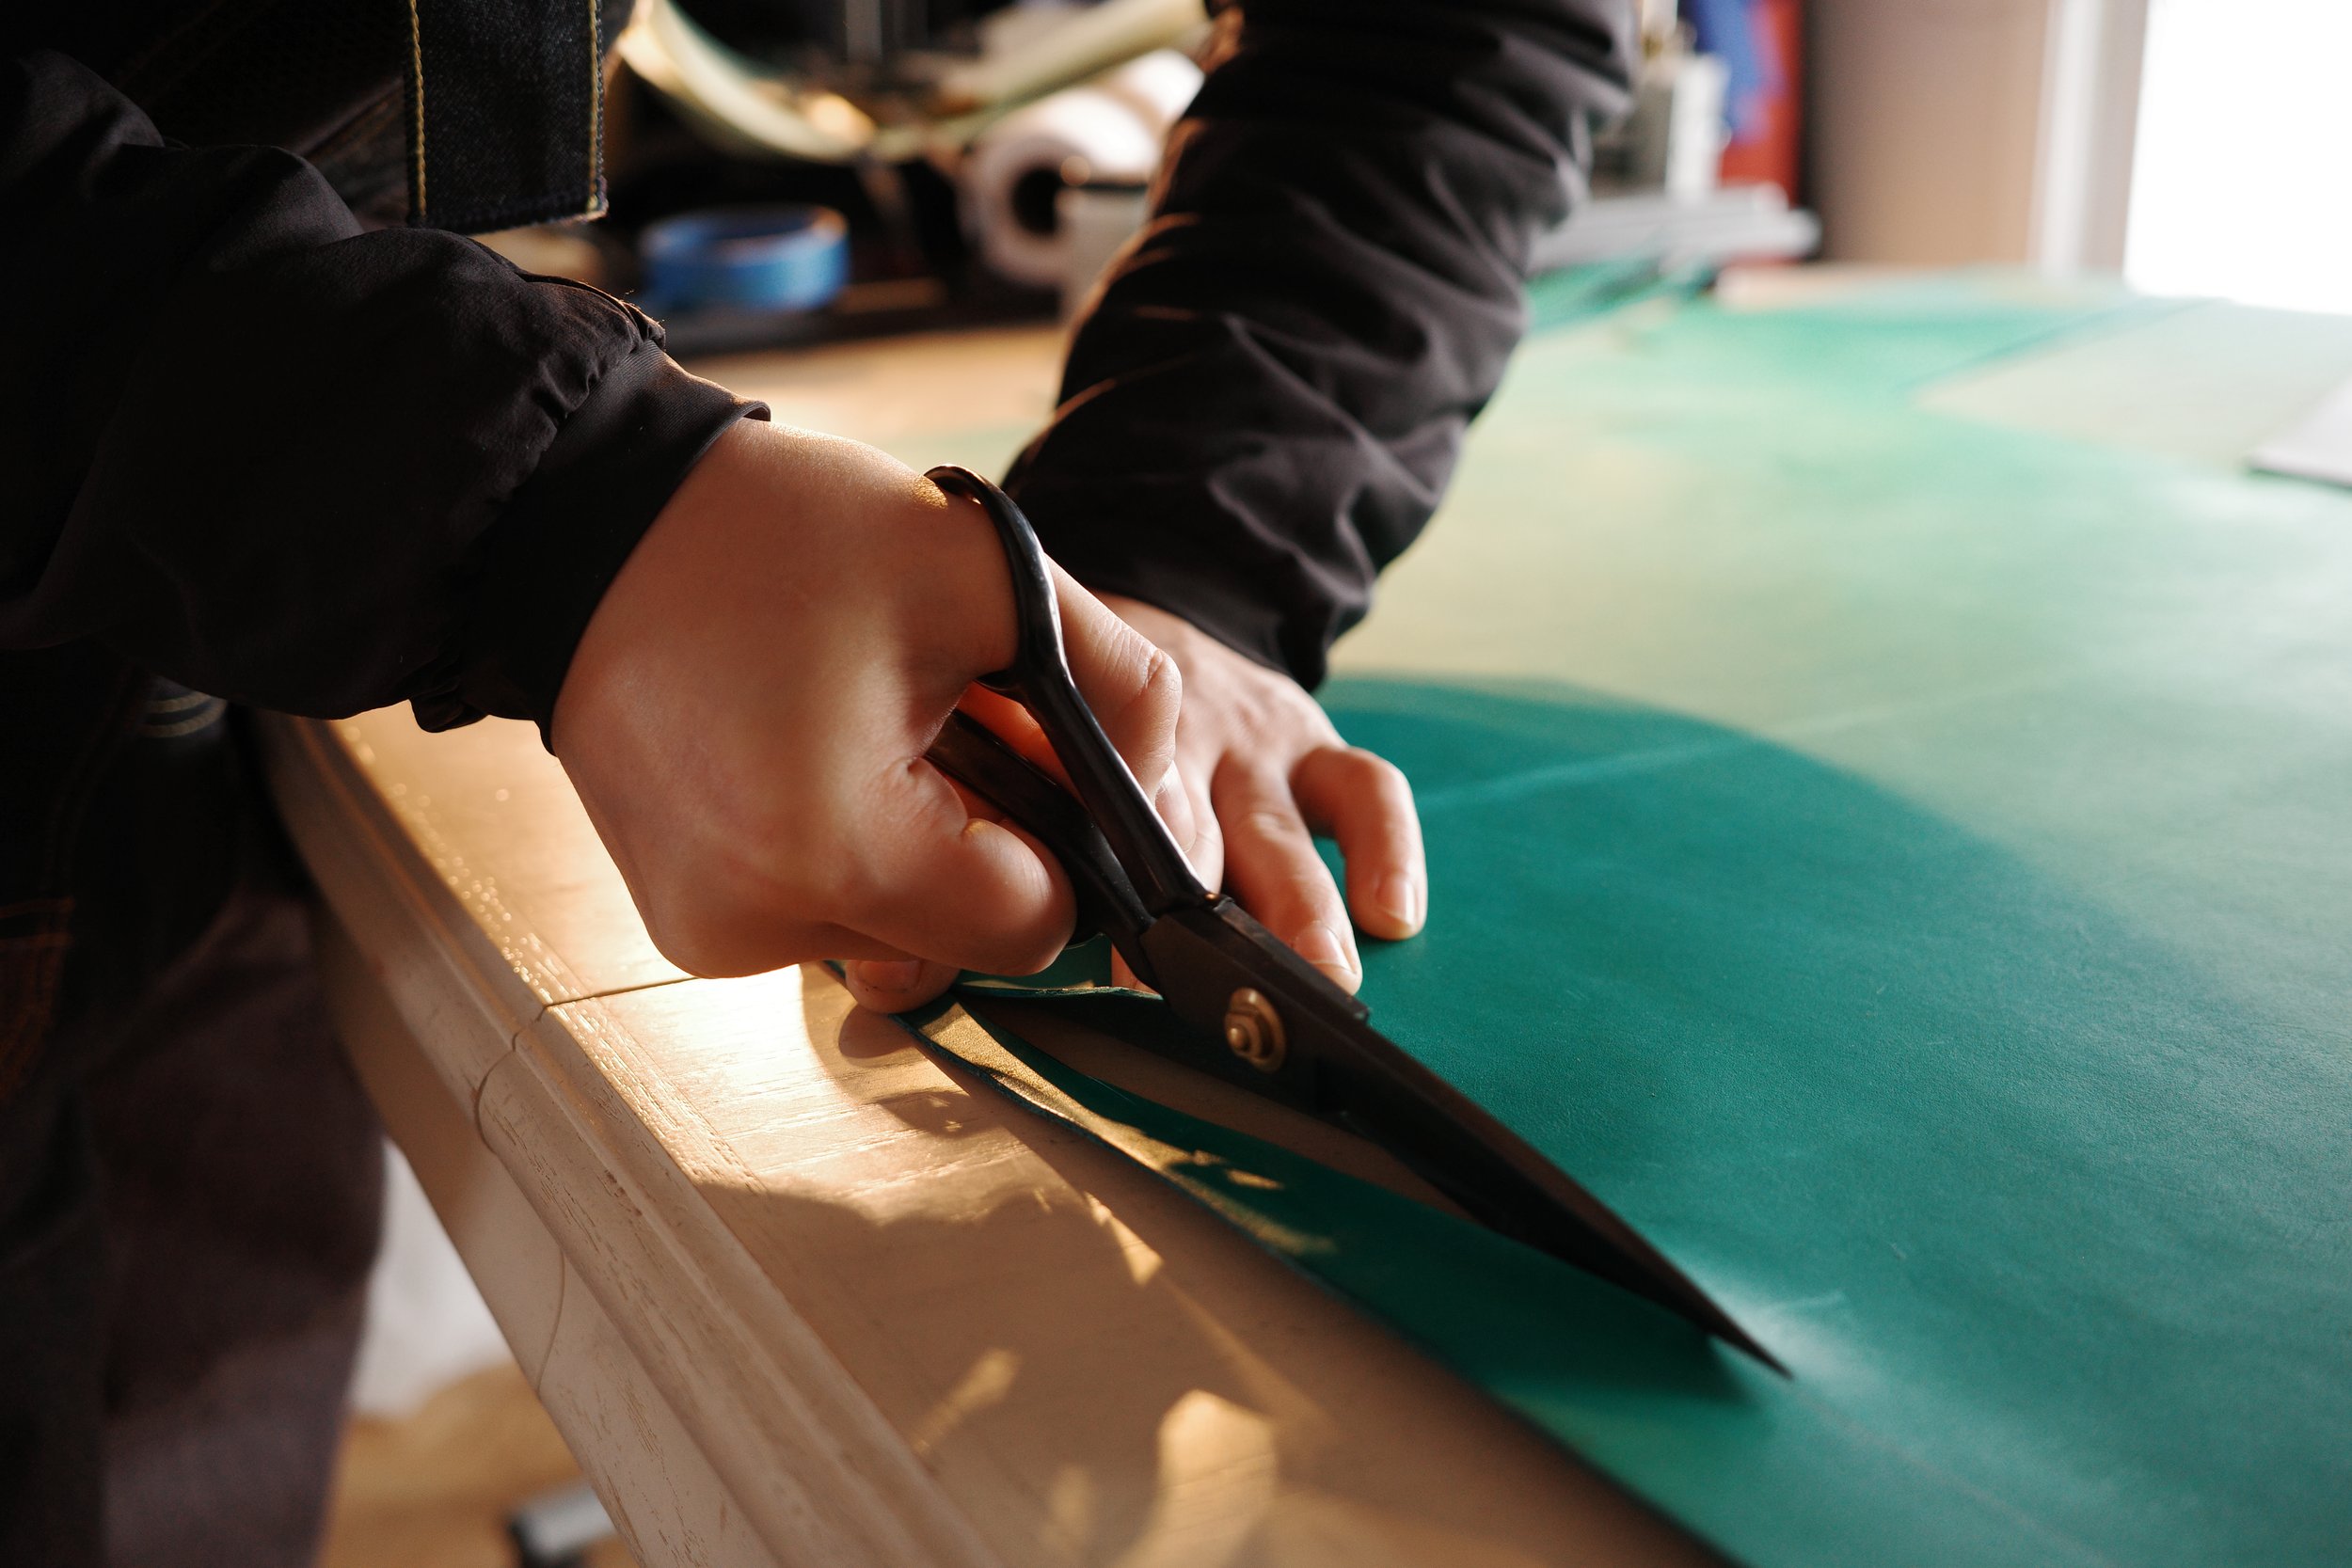
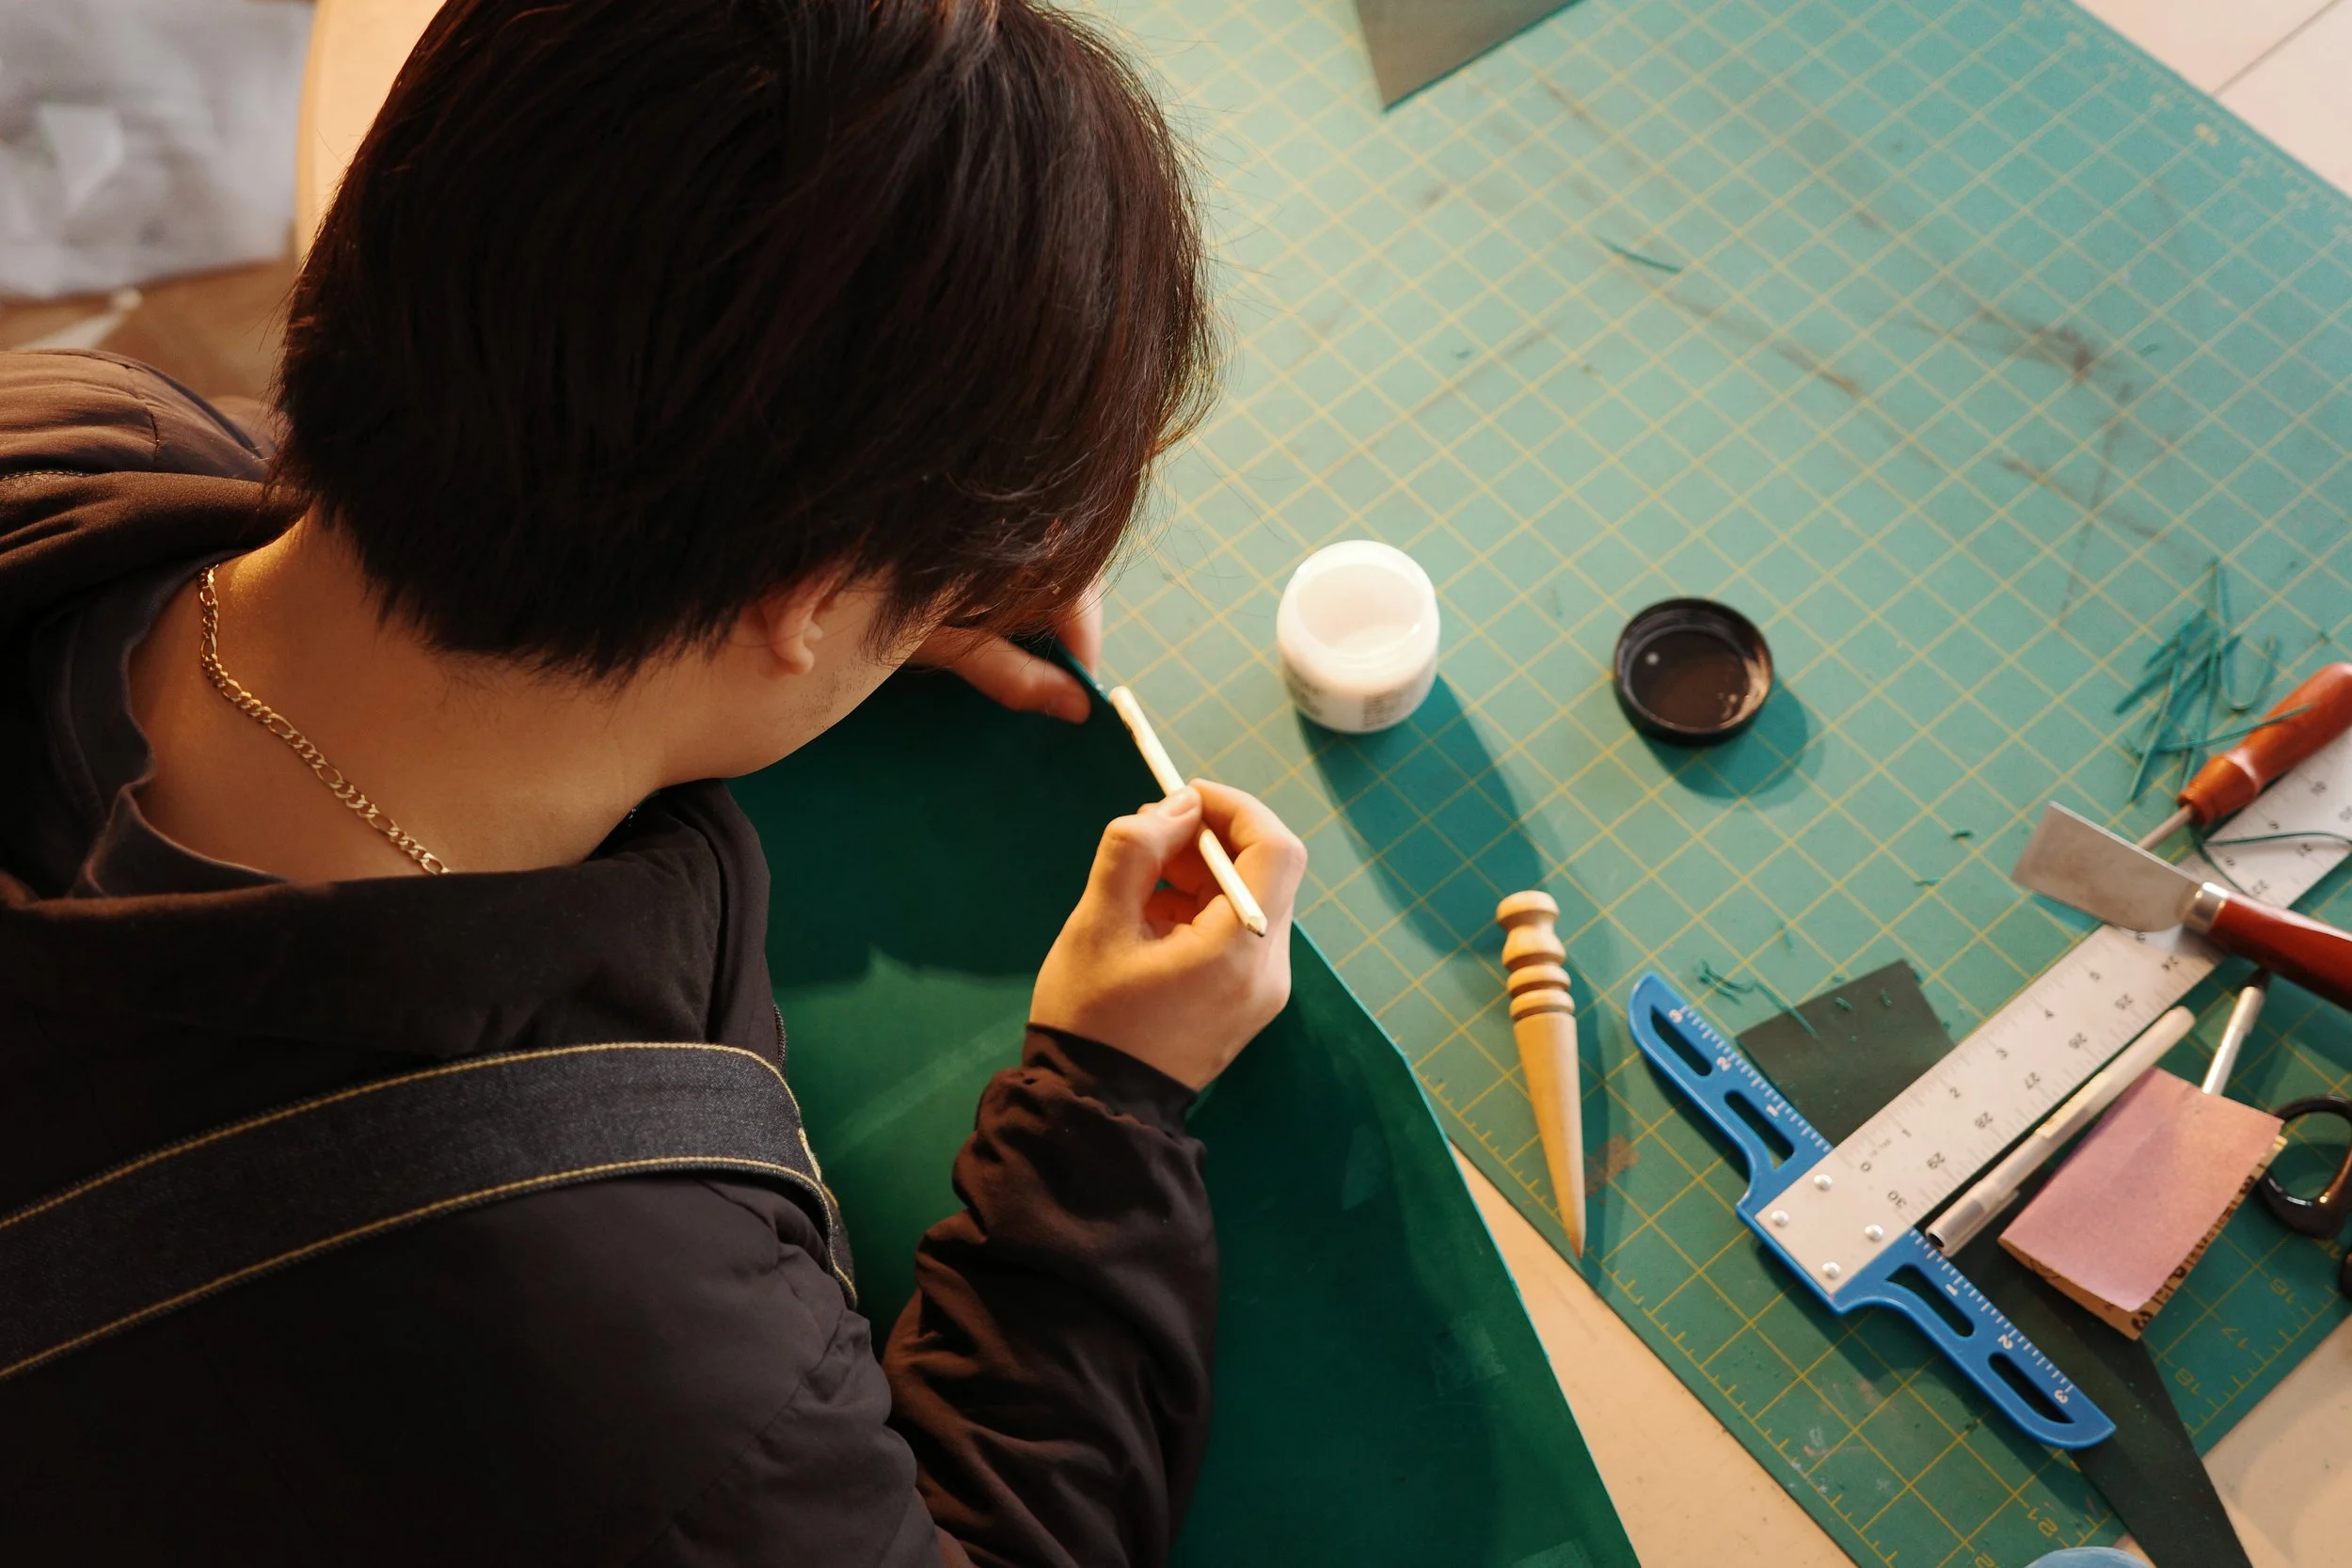
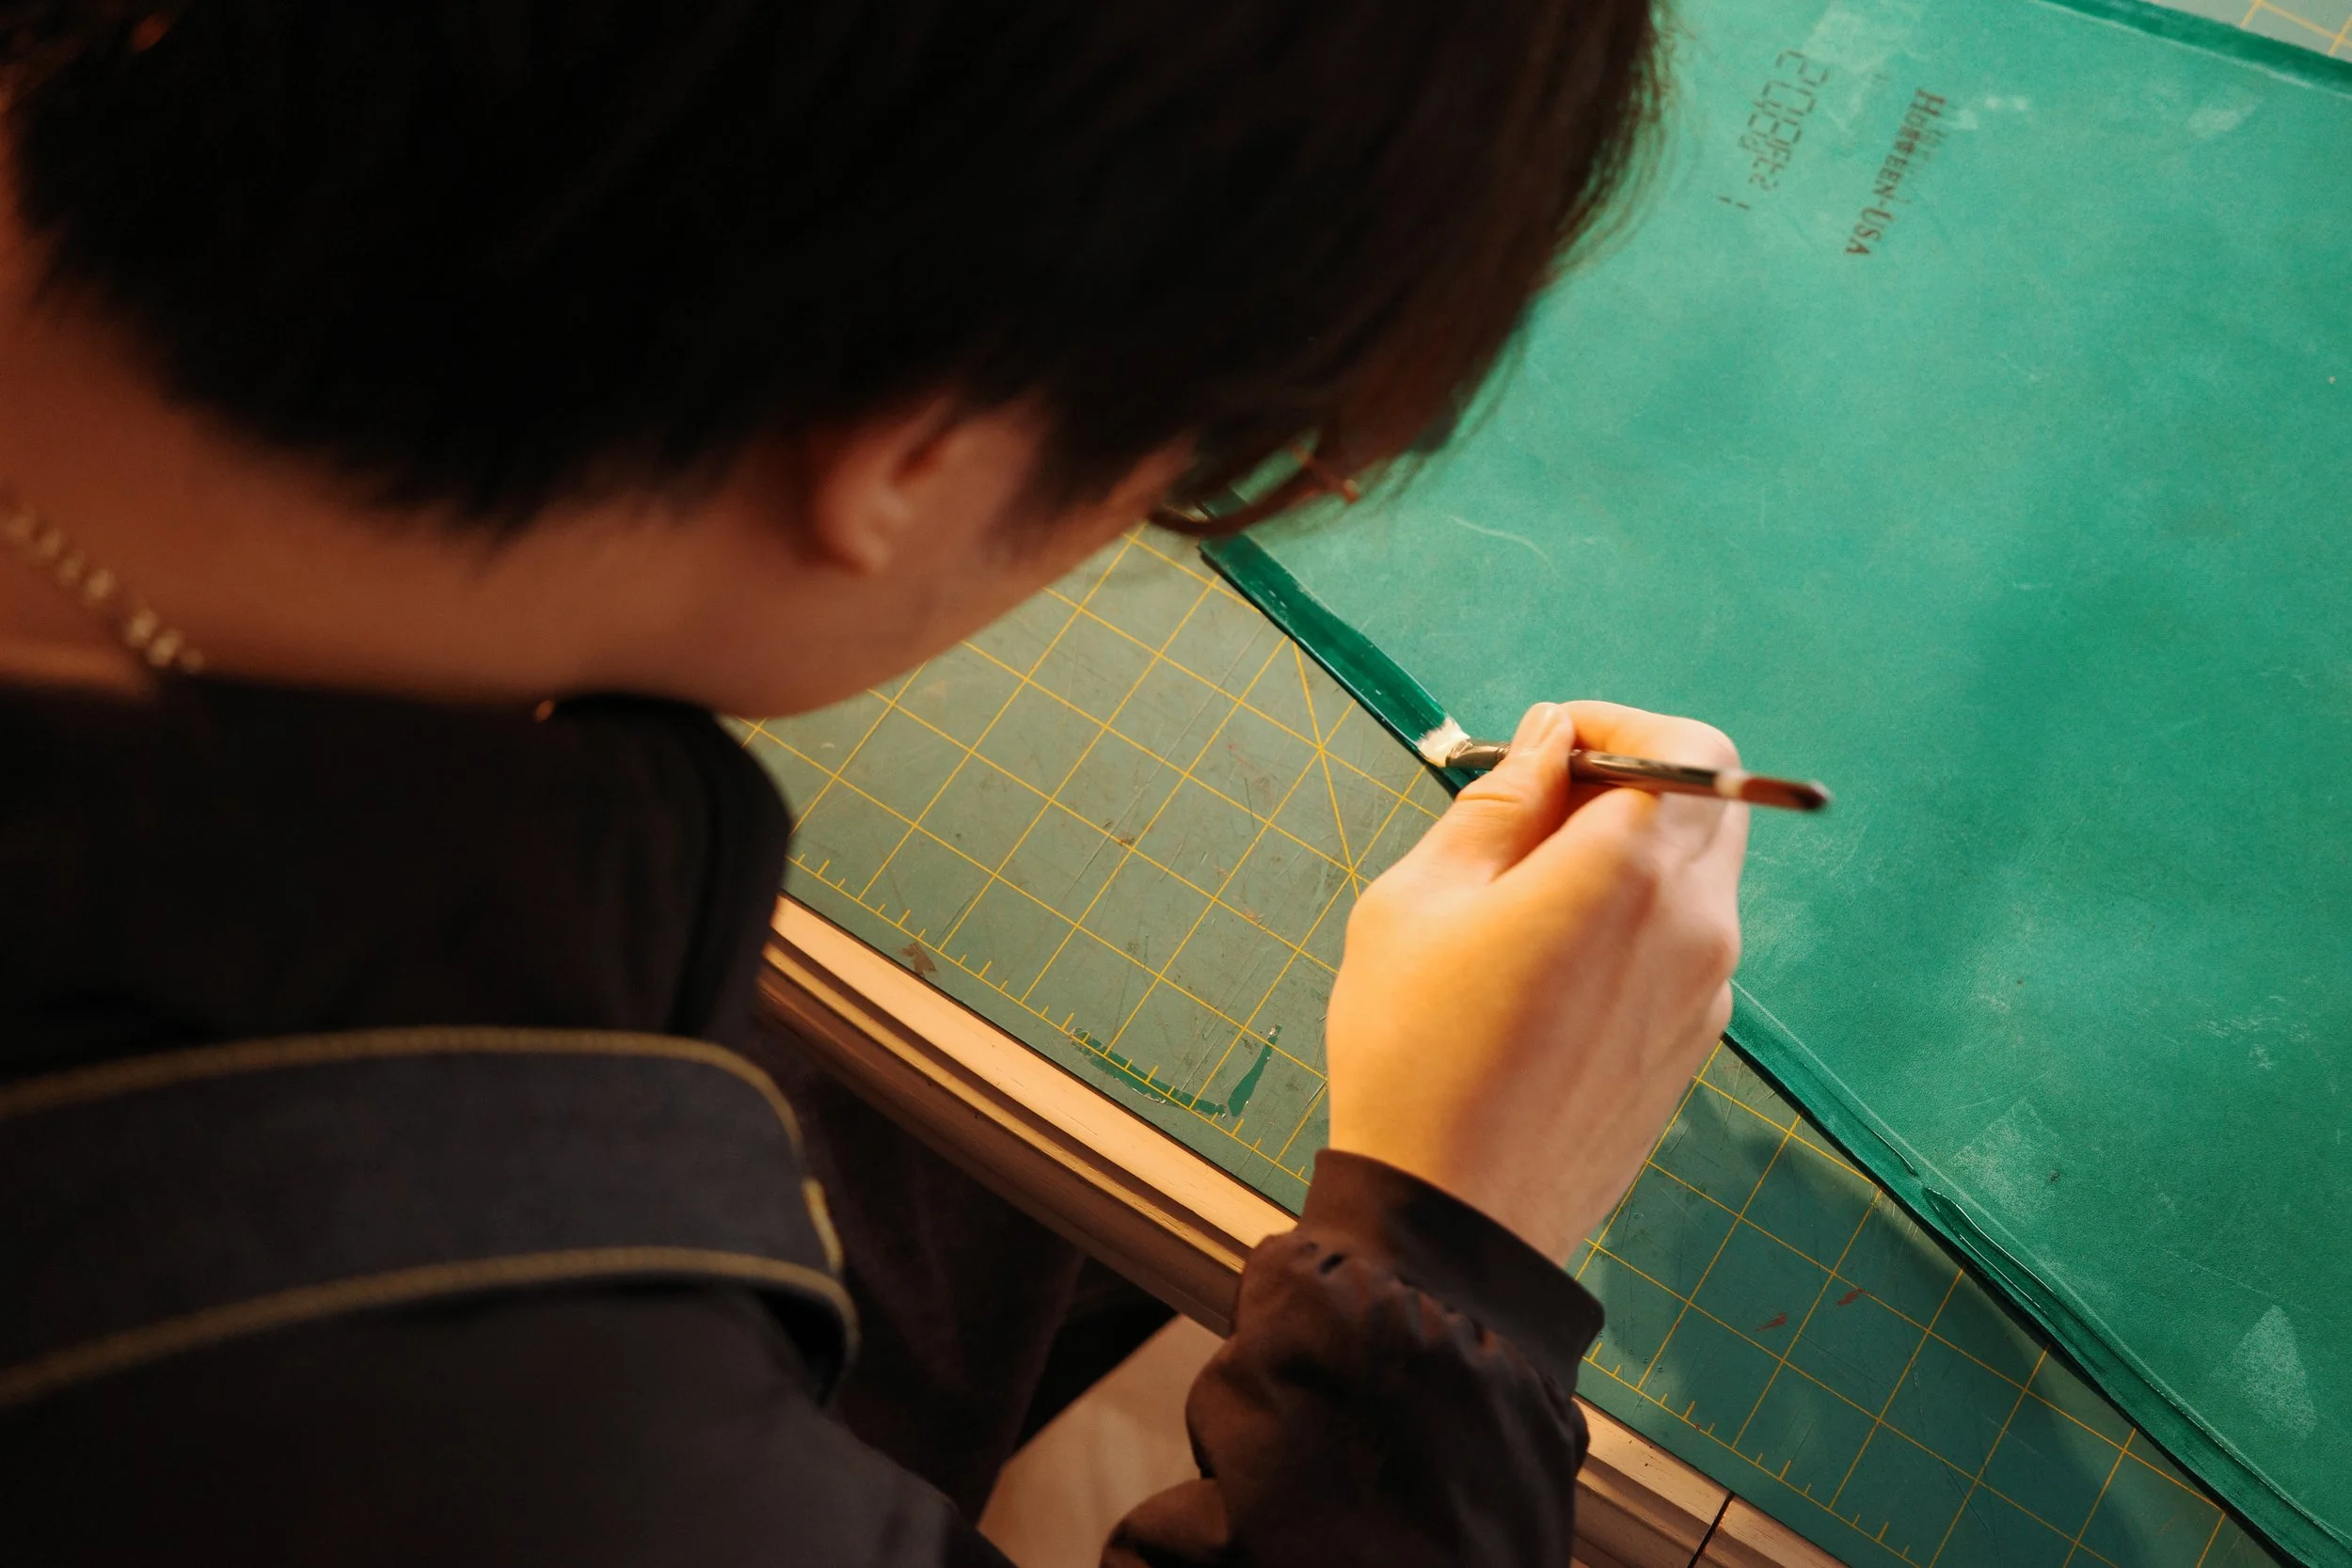
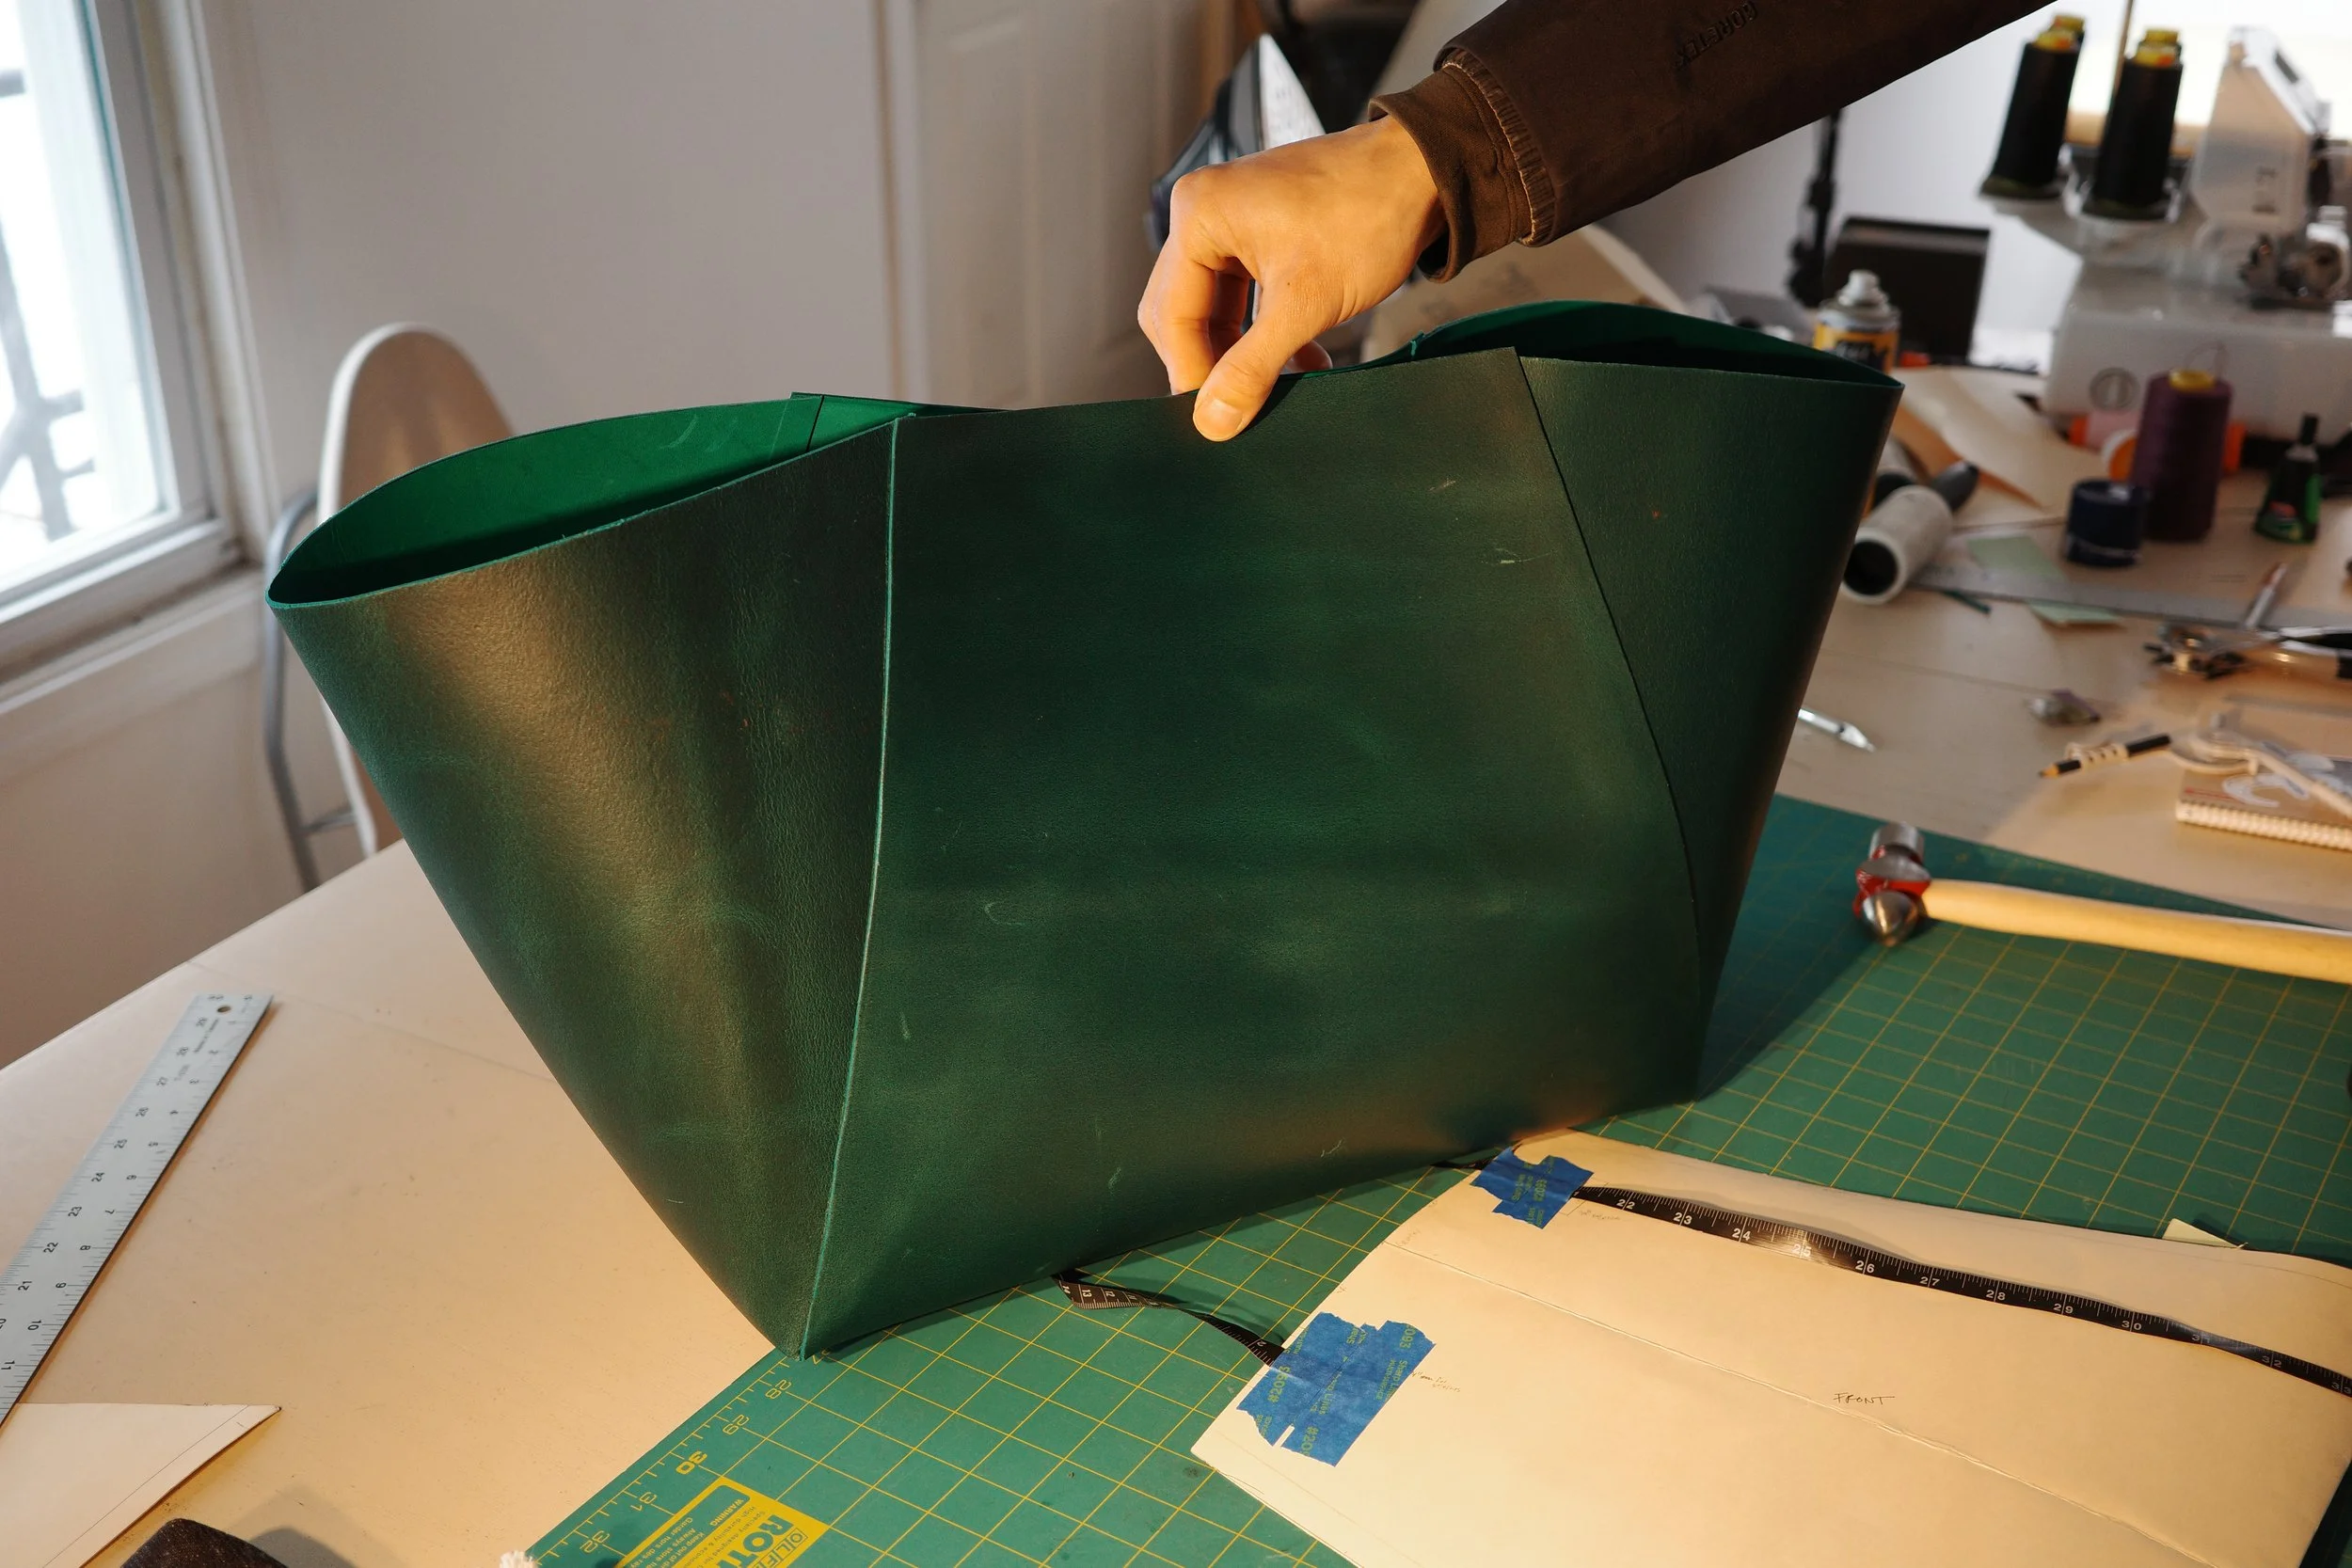
For better symmetry, I taped the template down and used painters tape as a hinge to mirror the template. After some tracing and scoring, the leather was cut and the seam allowance was marked and sanded. Sanding the leather removes the finish and allows the glue to adhere better, I then burnished all the edges.
After some minor tweaks, like rounding off any sharp corners, the bag was wiped down and cleaned before laying down Barge’s All Purpose cement in the seam allowance. This allowed me to “soft-assemble” the bag and inspect shape and cut quality before stitching. At this point, the leather was quite stiff and required gentle manipulation to soften up. I then used a Hammer to smooth everything out.
Day Three: Handles, Stitches, And Branding
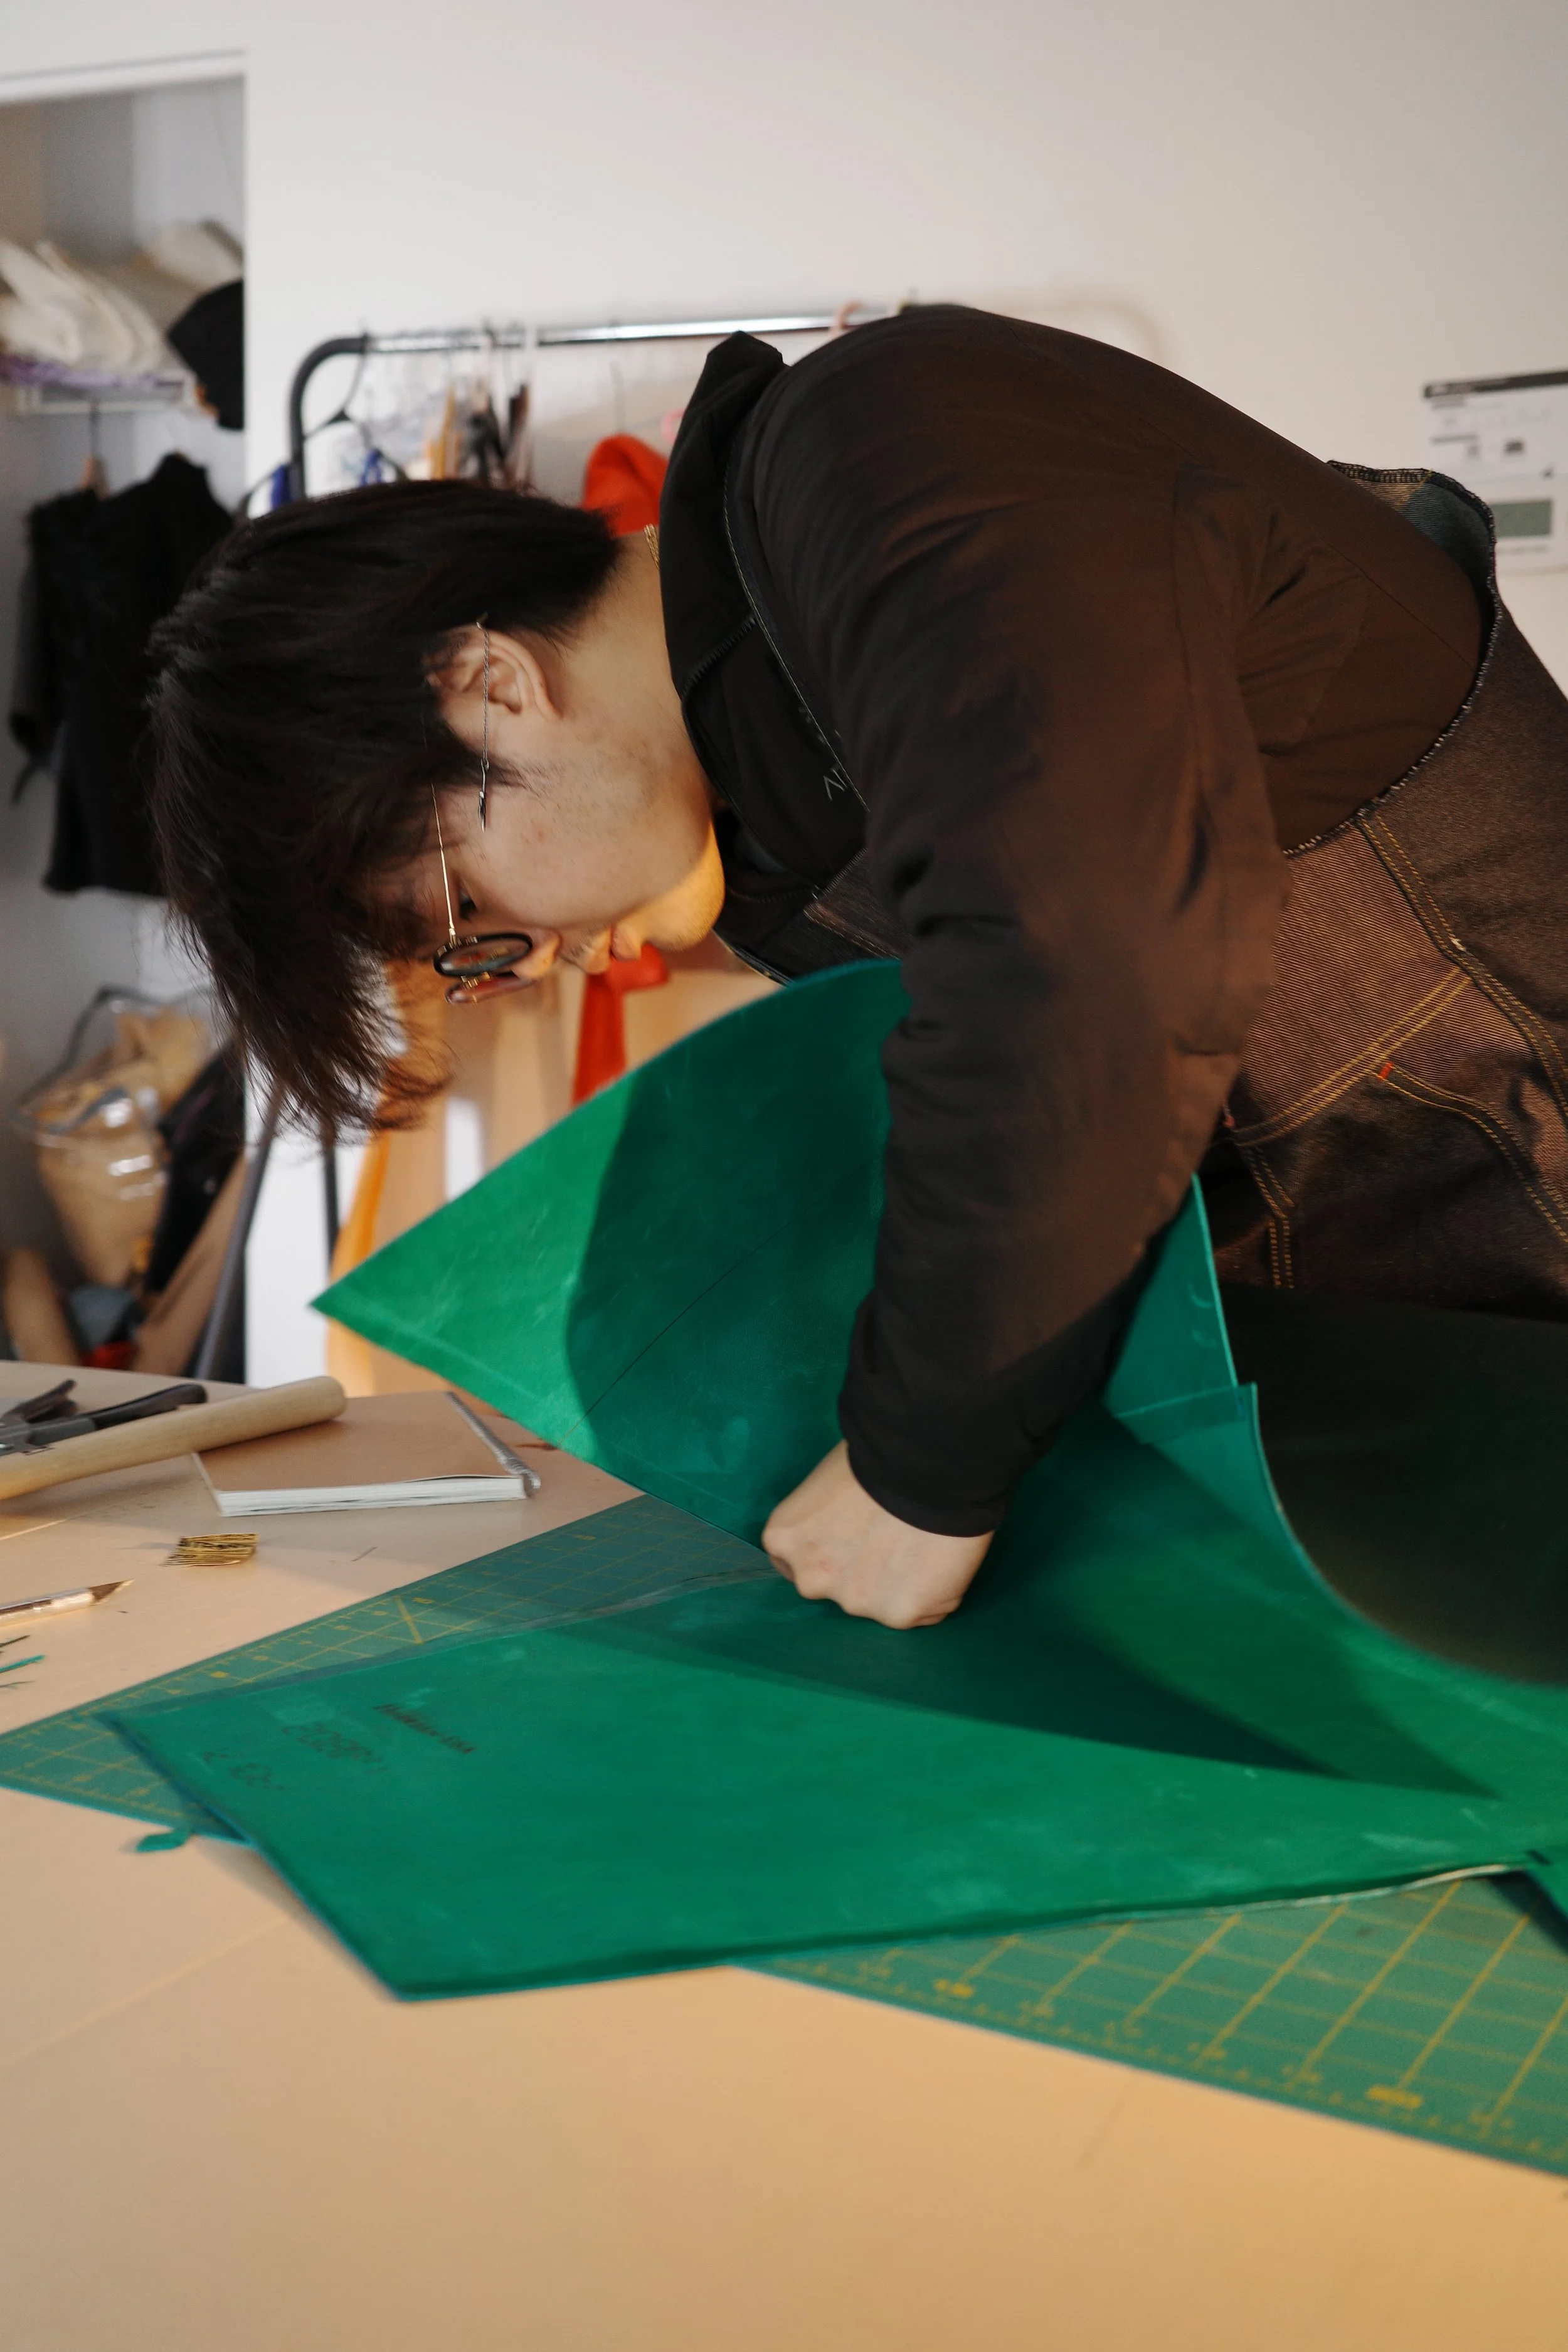
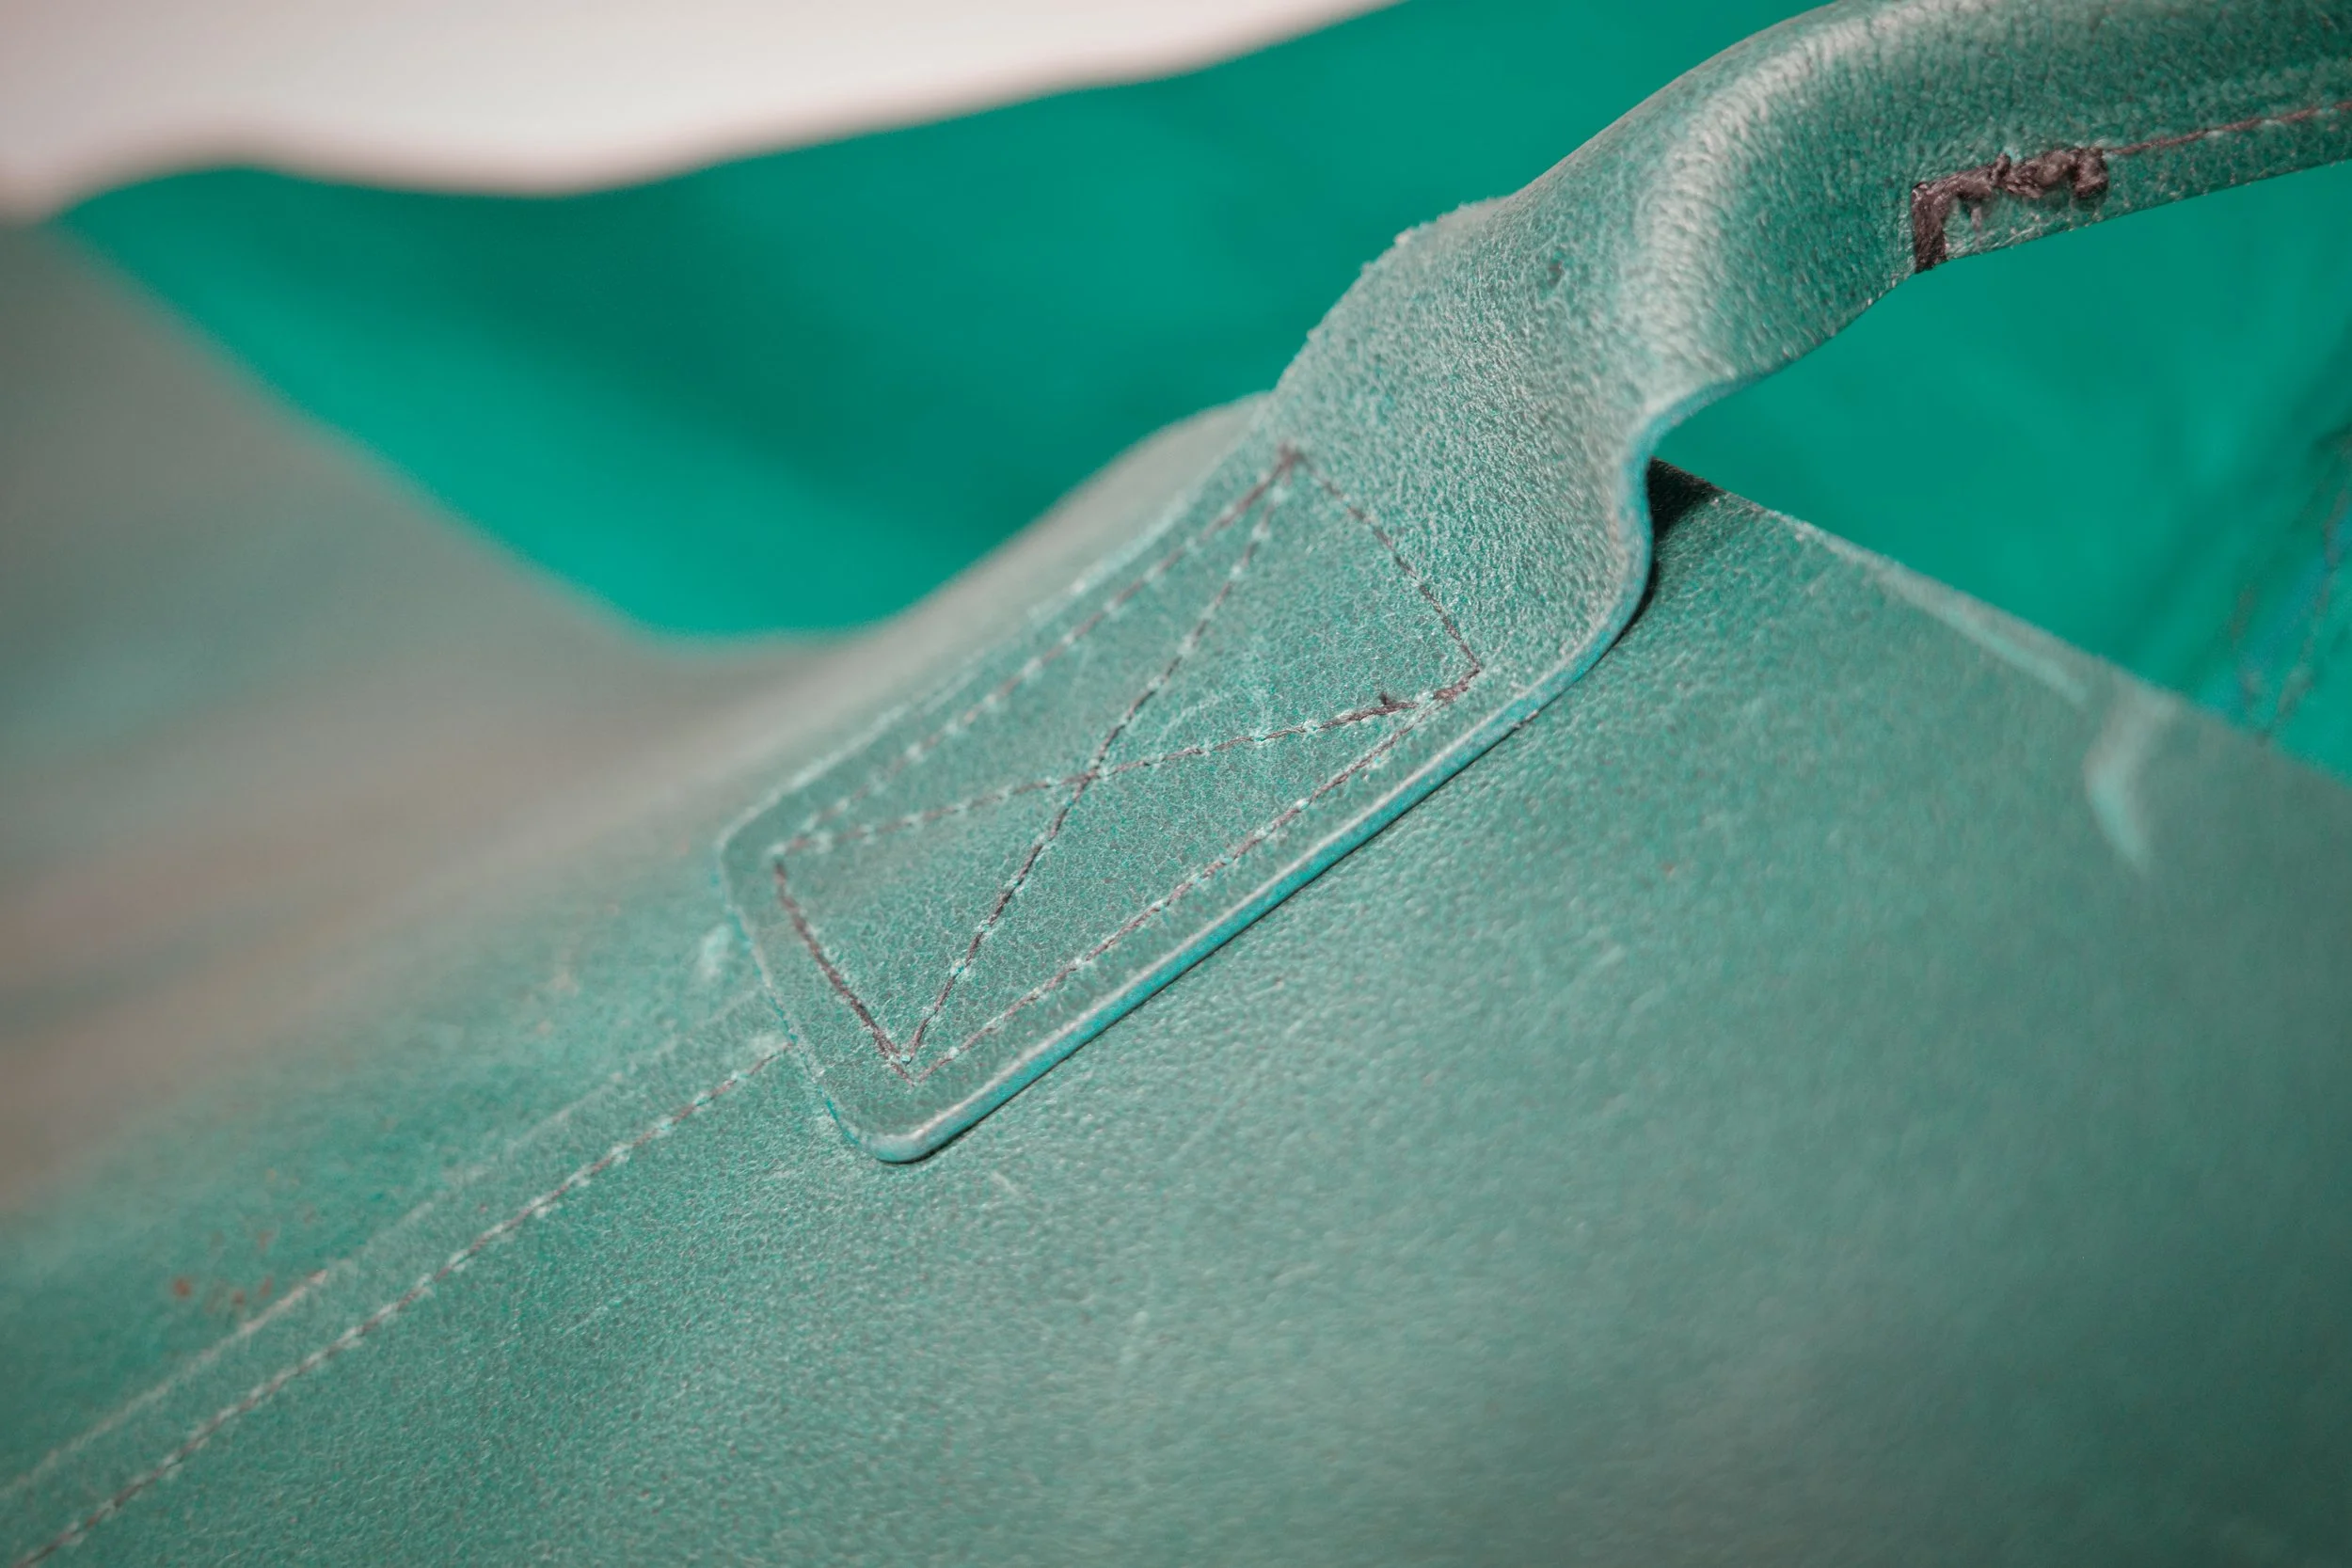
The glue from the previous day was critical with keeping the seams in place, as my sewing machine had little clearance and the bag was ambitiously large. Sewing the bag required a lot more massaging and manipulation but in the end helped with softening of the bags overall structure. Once the main body was sewn, I made the handles. I used the tape measure (taped to the template) to gauge the size of the handles which were then cut, folded over halfway, and sewn down. This was a much simpler process and did not require any glue or prep. Once the straps themselves were sewn, I scored a pattern on the anchor points and sewed them onto the bag. The strap’s anchors are intentionally used to cover and protect the top of the bag’s seams.
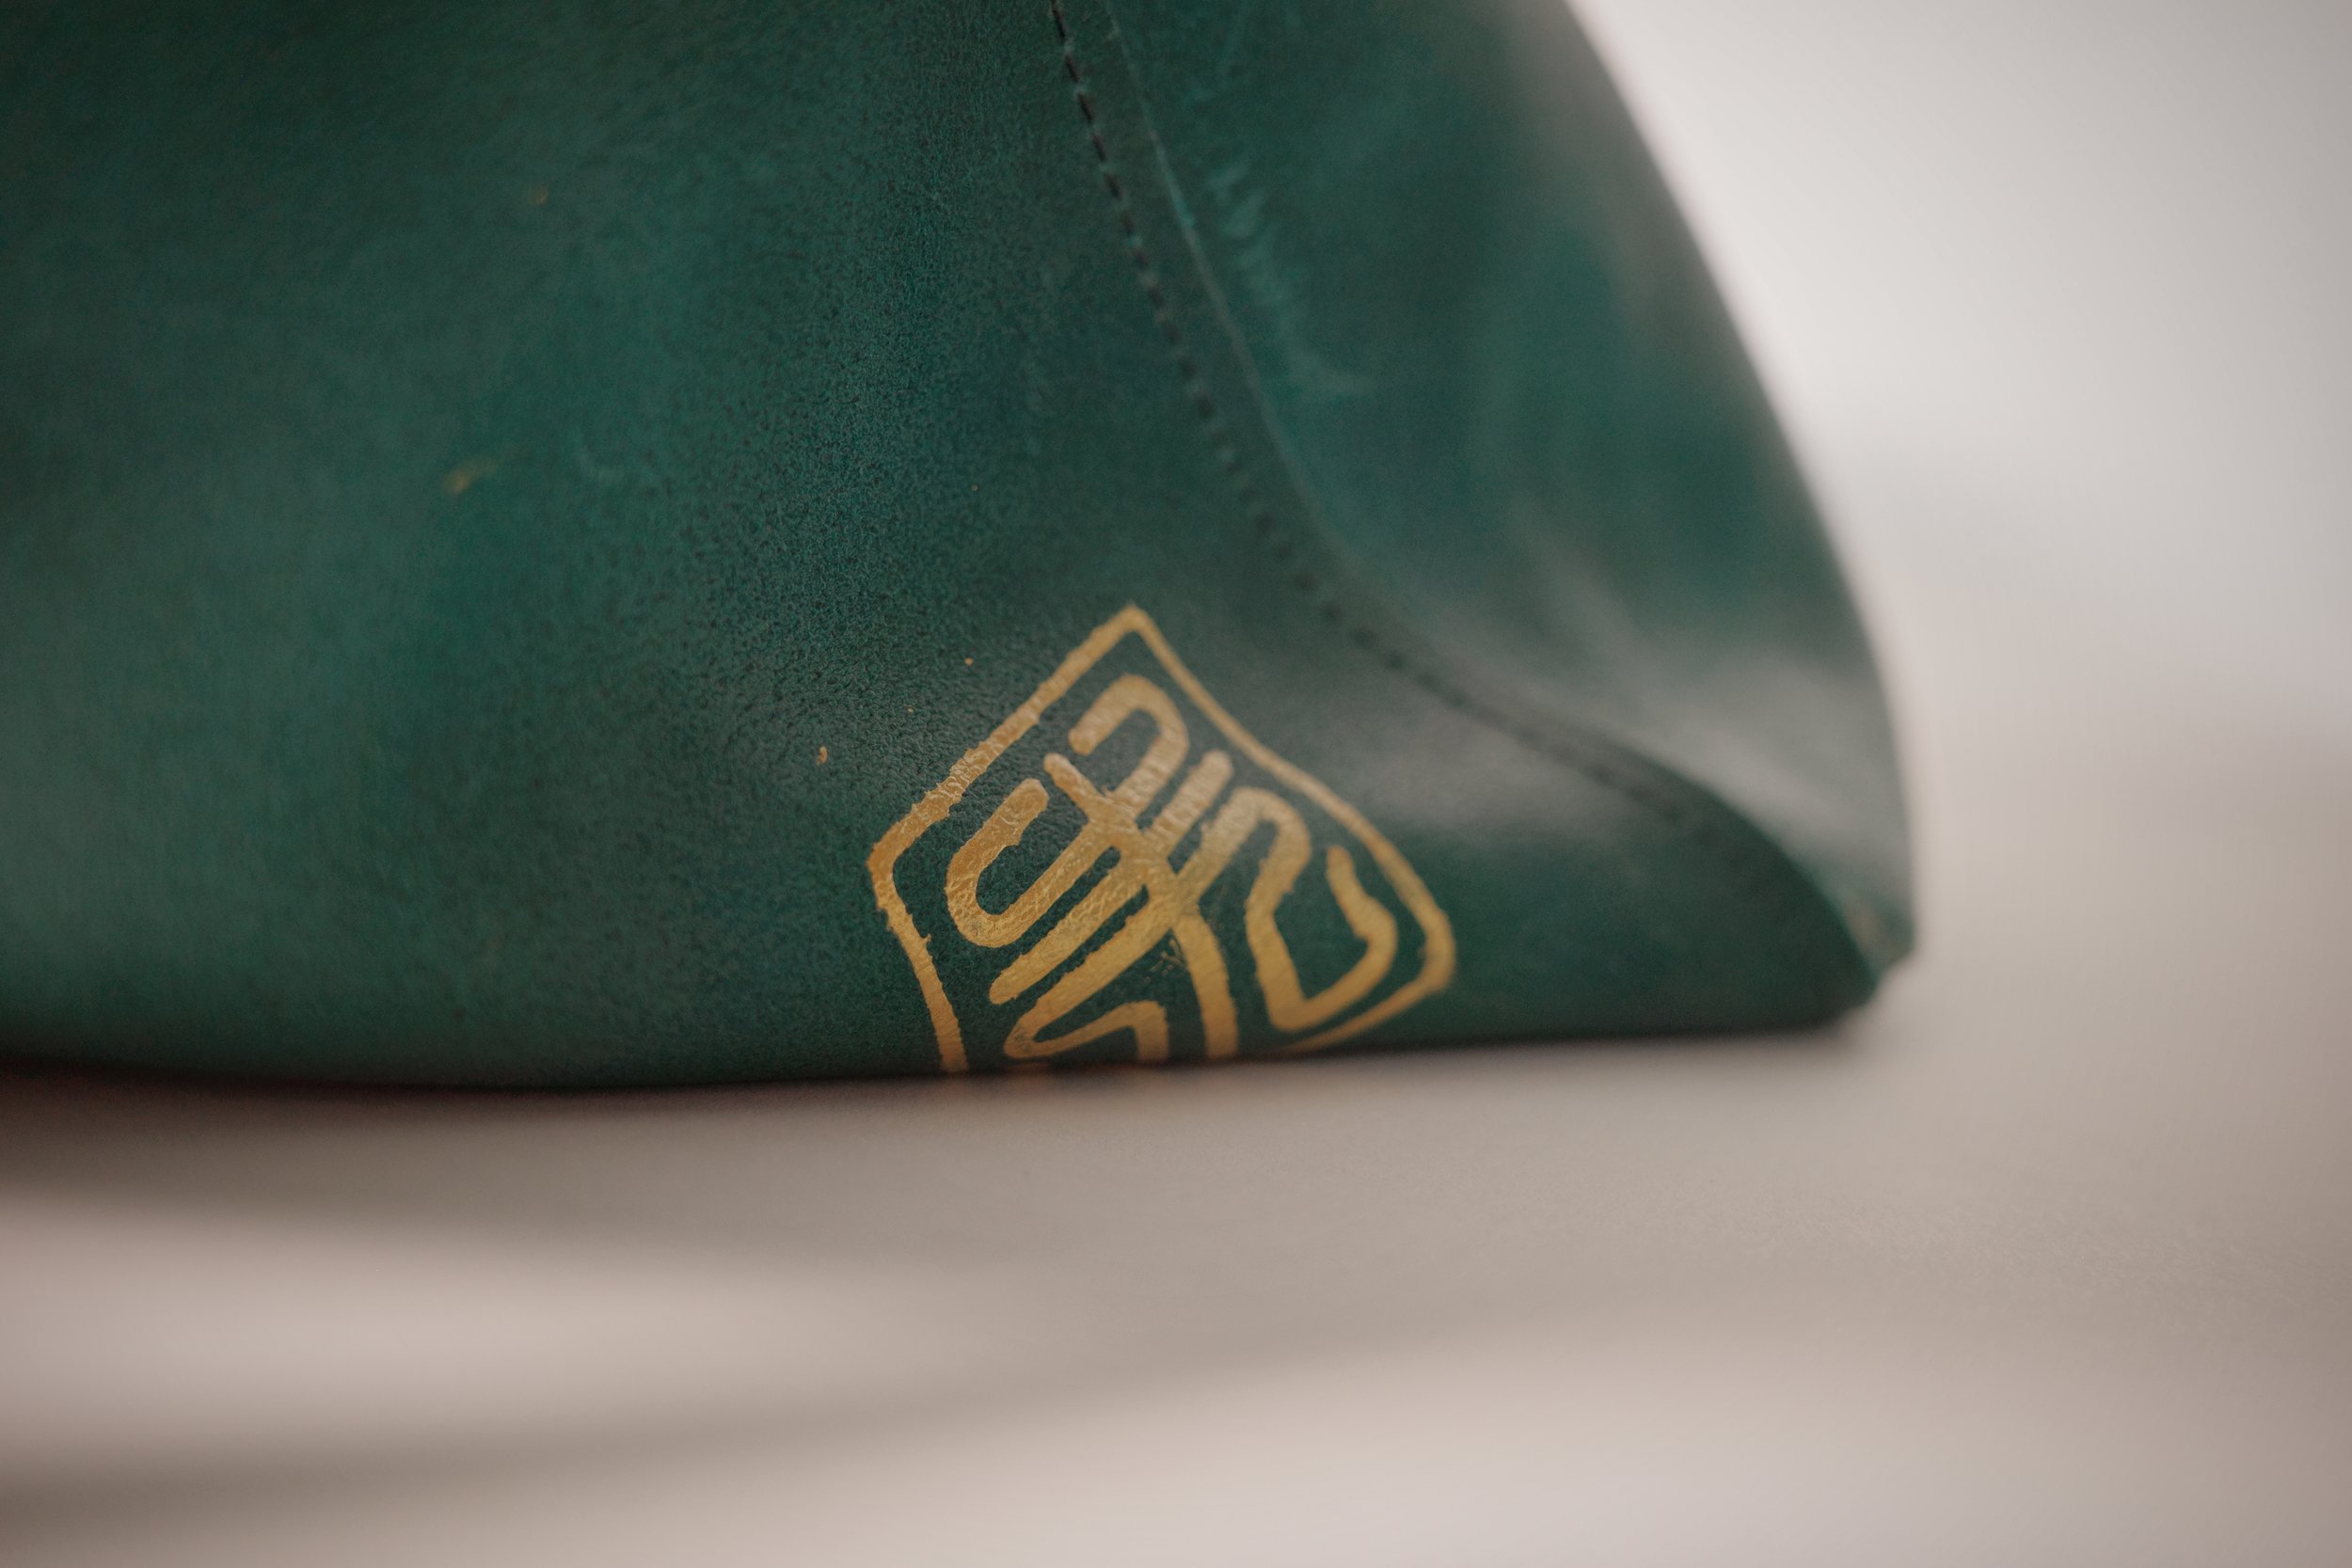
Lastly, I used a vinyl stencil to apply my logo in gold paint. The white patina marks that vein through the leather reminded me of jade. This inspired me to draw from my Chinese heritage, and incorporate gold accents.